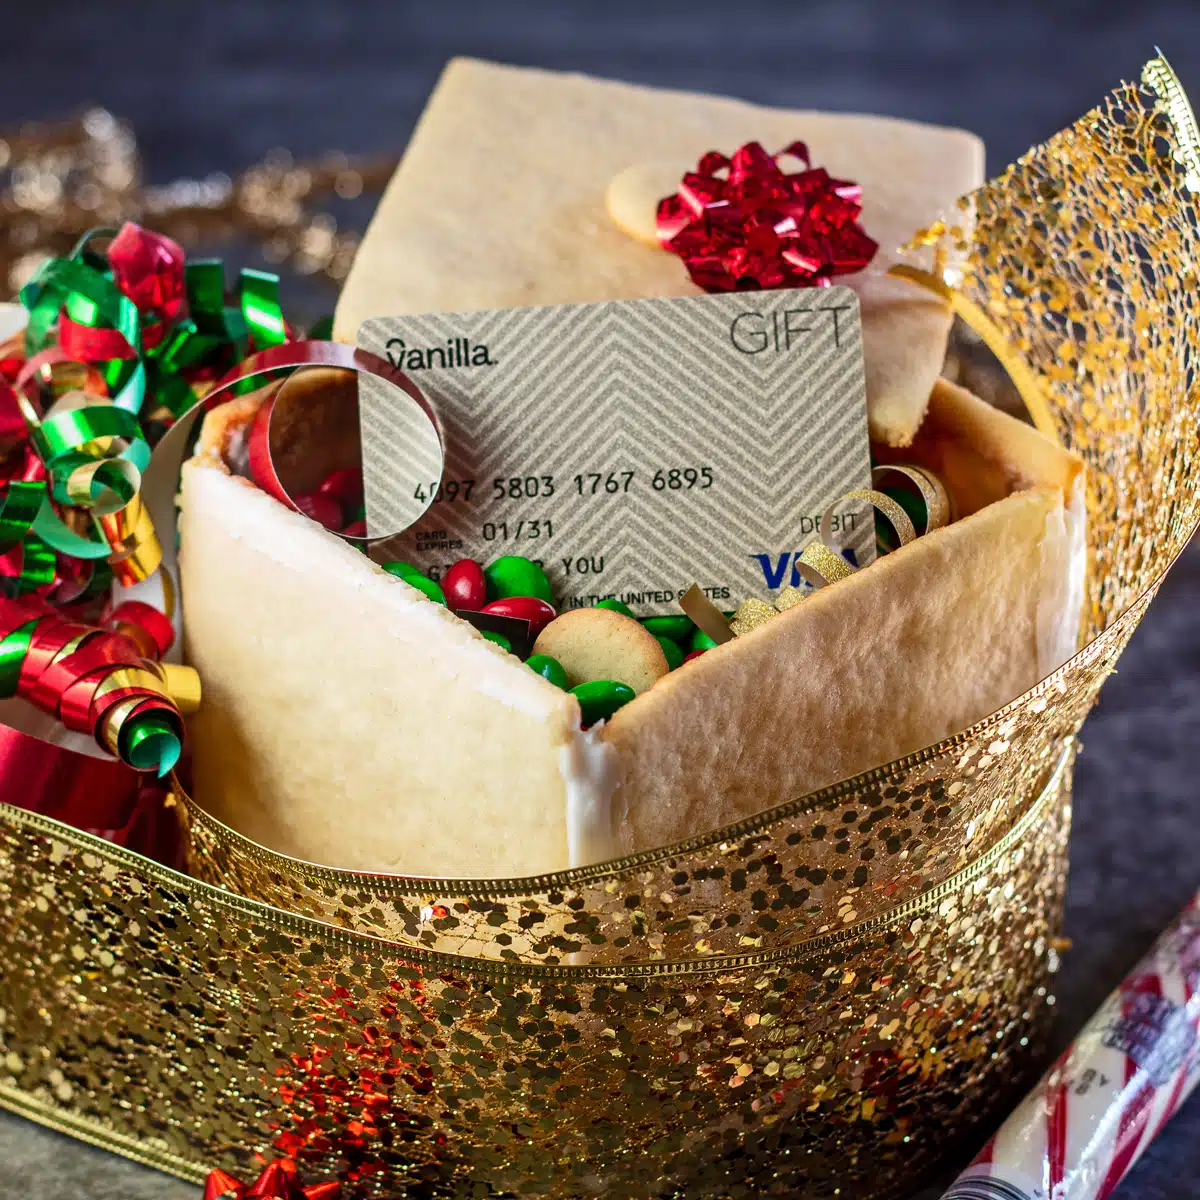
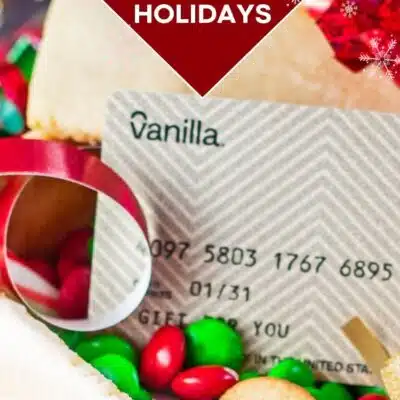
This edible Christmas cookie gift box is made from cut-out sugar cookies and assembled into a decorative box that's a gift of its' own! Fill your gift box with candy, meringues, cookies, small gifts, or gift cards to surprise your sugar cookie fanatics in the family!
DIY Christmas Gift Box Project
The most wonderful time of the year is rapidly approaching, and with that on the horizon, I always think of childhood memories. I frequently tell tales of baking with my Grandma Janet (aka Granny Janny) as the start of my baking obsession. She was also the root of every holiday tradition that I cherish today!
Before I was tall enough to reach the kitchen counters, I was always baking sugar cookies and gingerbread cookies for Christmas with Granny. This fun little gift box project was inspired by the two!
Jump to:
Tasty classic sugar cookies are baked in square shapes to fit together and assemble like a gingerbread house, but into a gift box instead. Stuff any of your gift recipient's favorite treats into the box and watch their face light up with surprise!
Whether you're a pro at hosting Christmas dinner and holiday parties or giving it a try for the first time this year, you're sure to find my ultimate guide to planning Christmas a help! Don't forget to safely thaw your holiday prime rib early, too!
What You'll Need
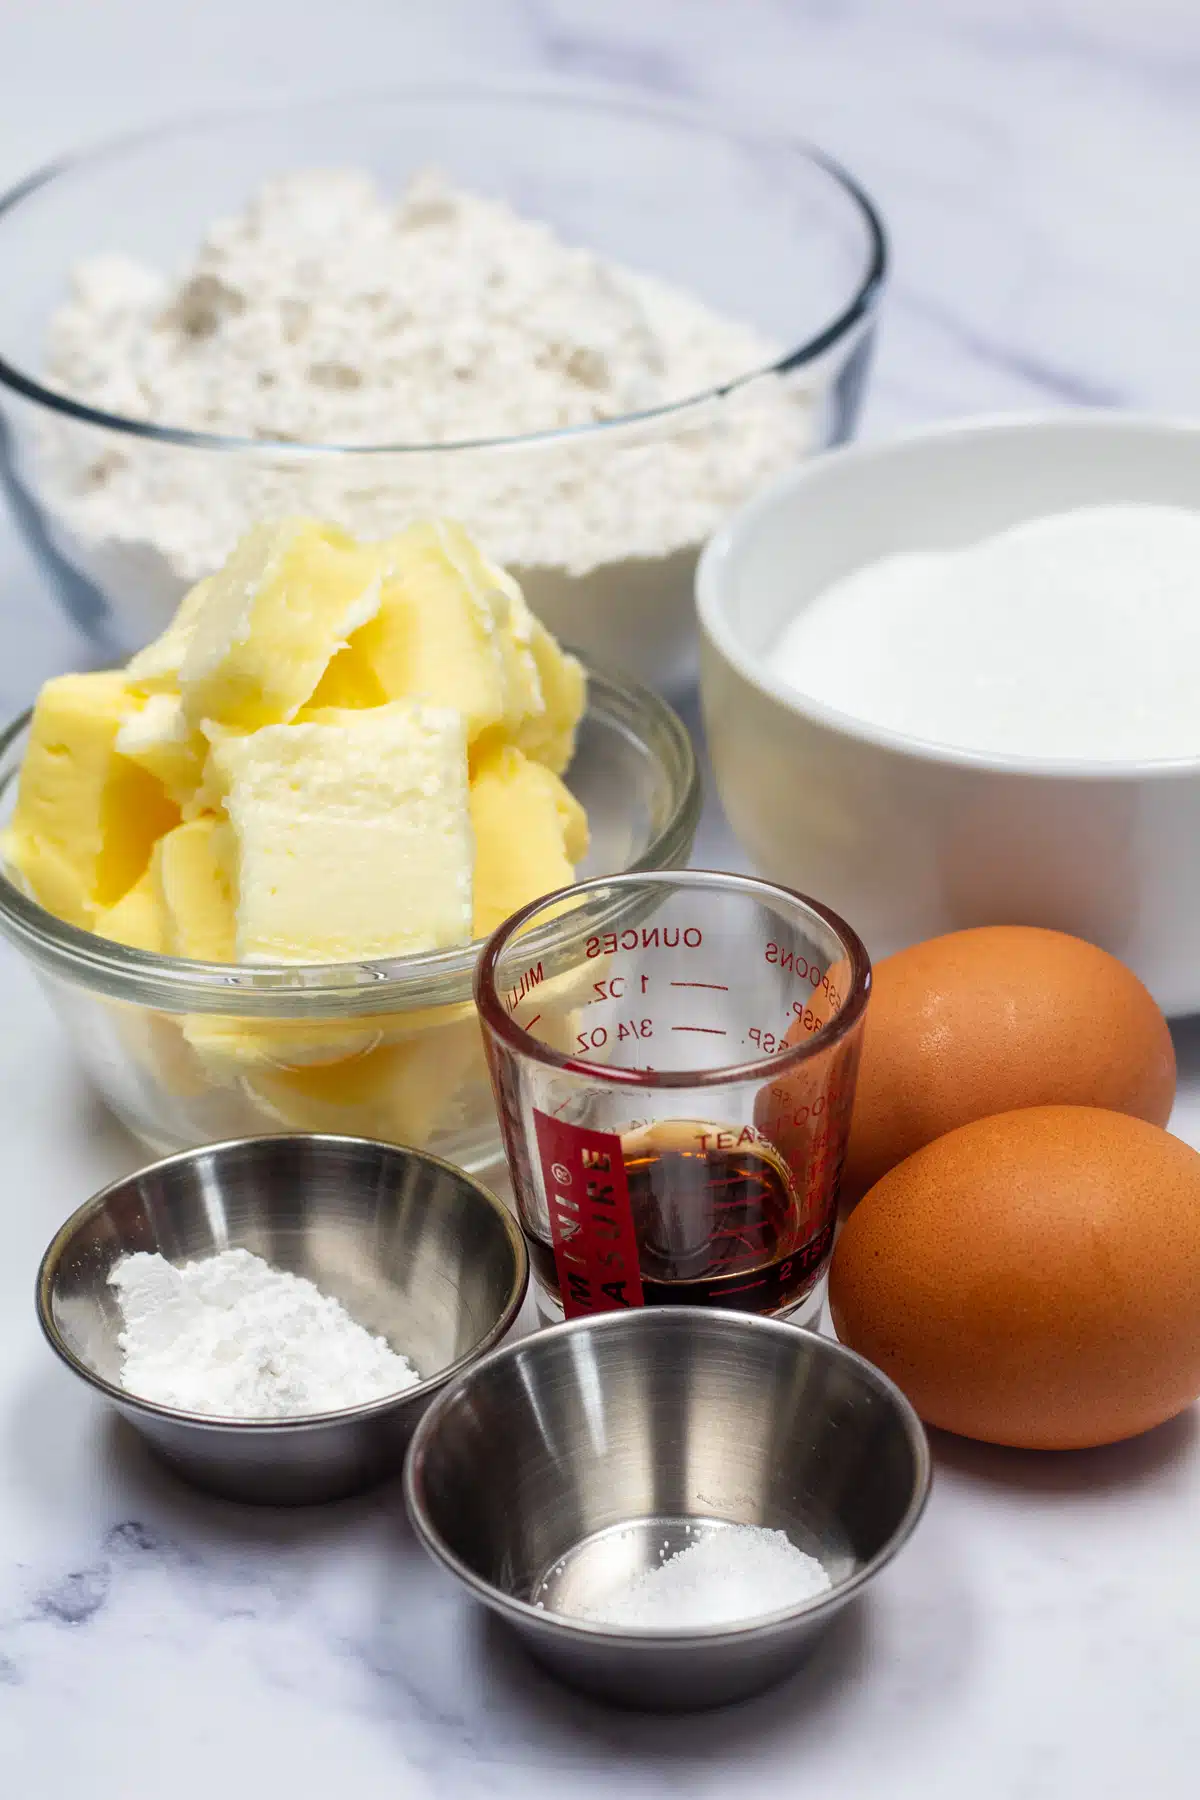
- Sugar Cookie Dough (recipe below, or use my classic sugar cookie or no-chill sugar cookie recipe) to make the sides, bottom, and top of your edible Christmas sugar cookie gift box.
- Baking Sheet (use parchment paper or a silicone (Silpat) mat if desired)
- Pastry Mat to roll out the cookie dough on.
- Rolling Pin also to roll out the cookie dough.
- All-Purpose Flour for coating the pastry mat and rolling pin so the cookie dough doesn't stick.
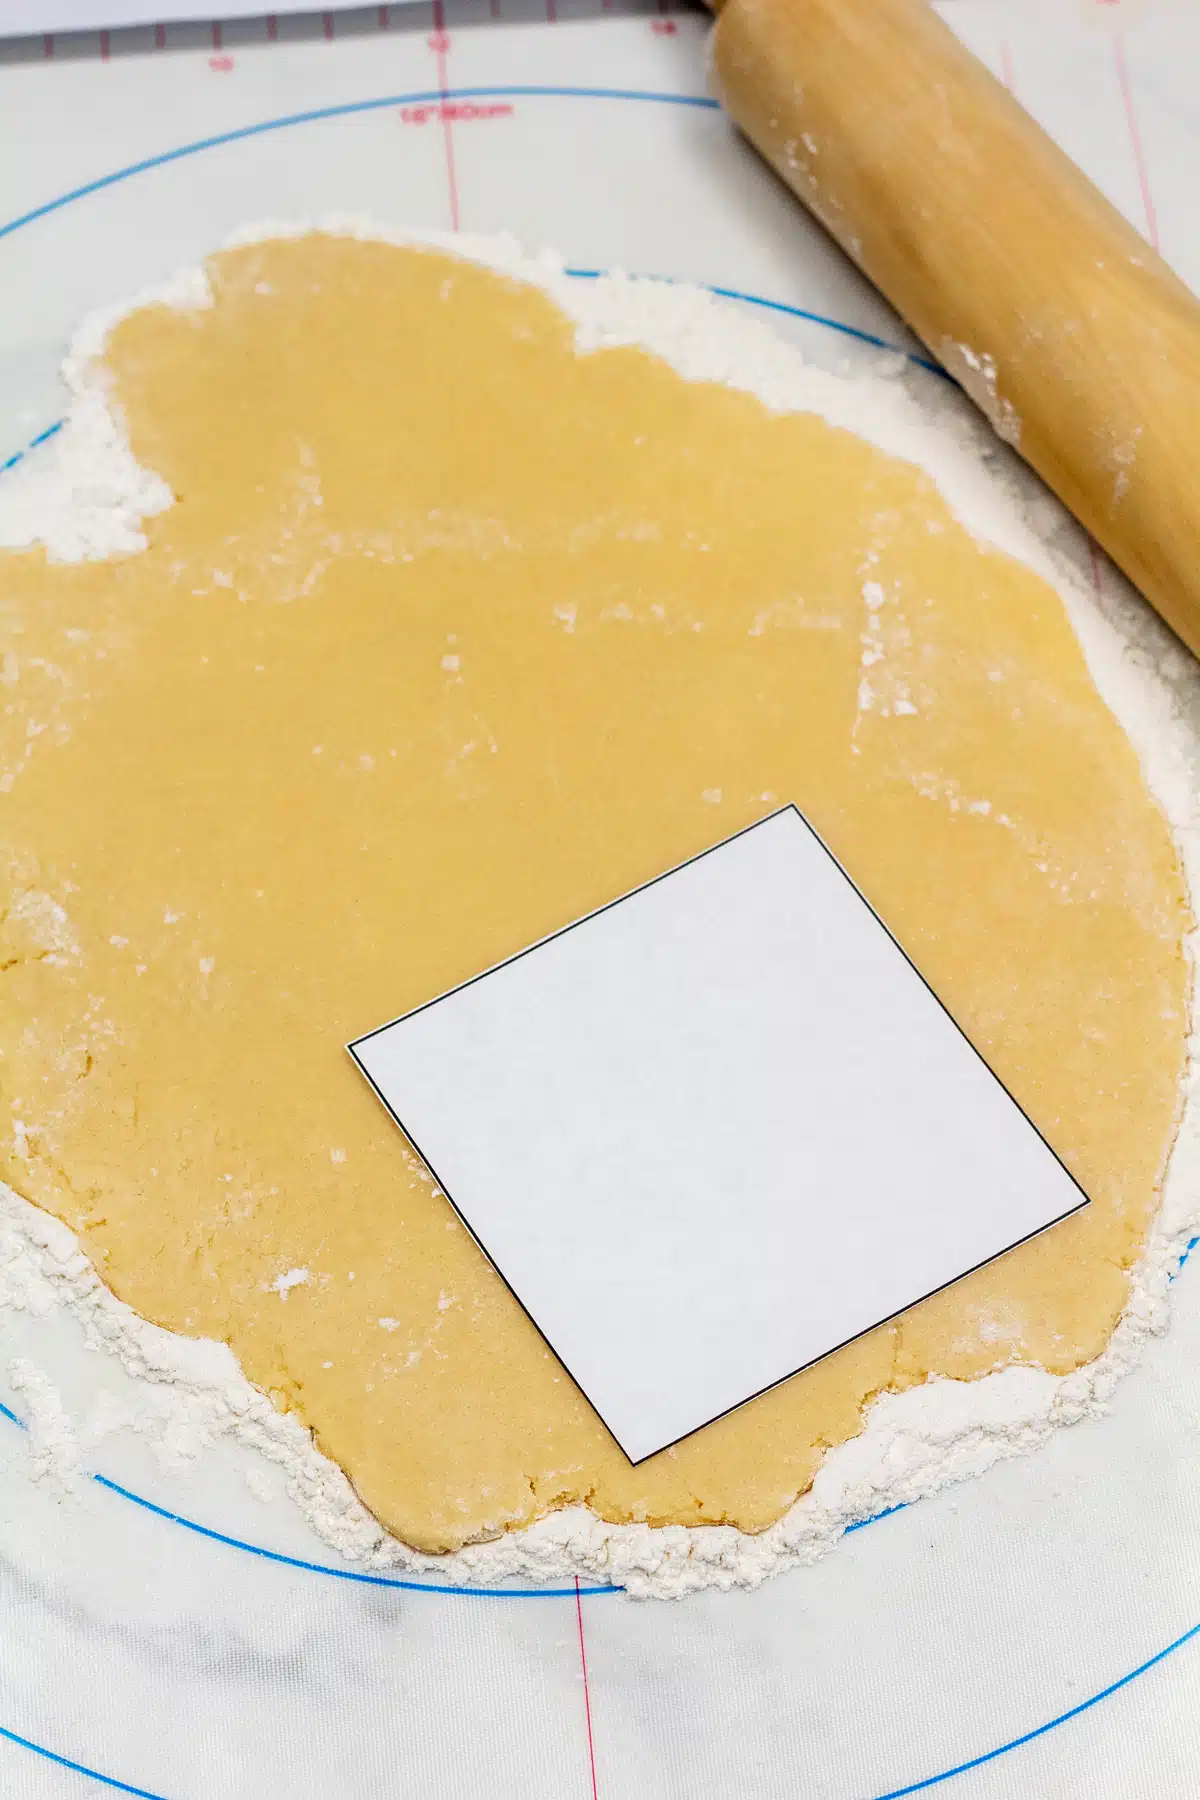
- Square Template for cutting the matching box sides. Print out a 6x6-inch square for the 4 sides, and a 6½x6½-inch square for the base and lid.
- Round Cookie Cutter or Large Piping Tip to cut out the optional footer pieces.
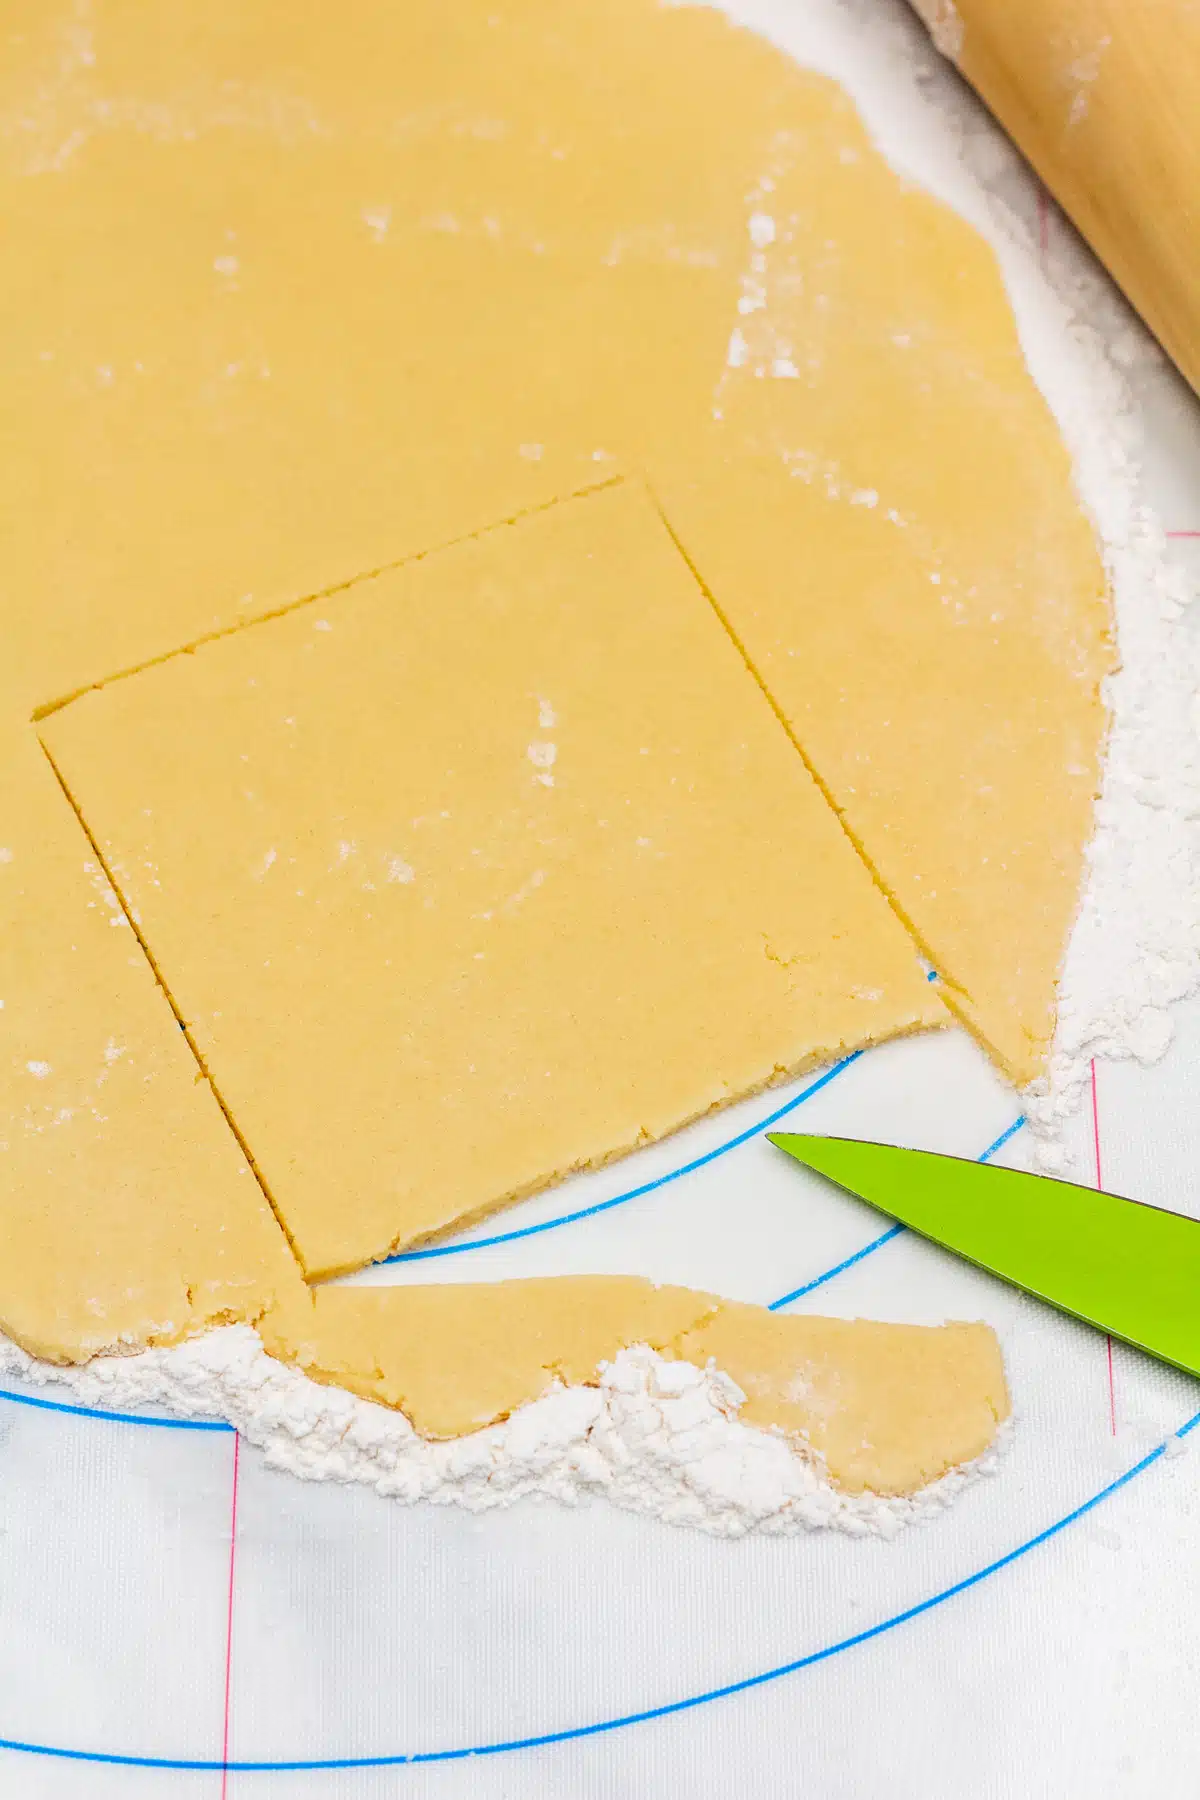
- Sharp Knife for cutting the cookie dough.
- Wire Cooling Rack to transfer the baked cookies onto to cool completely after baking.
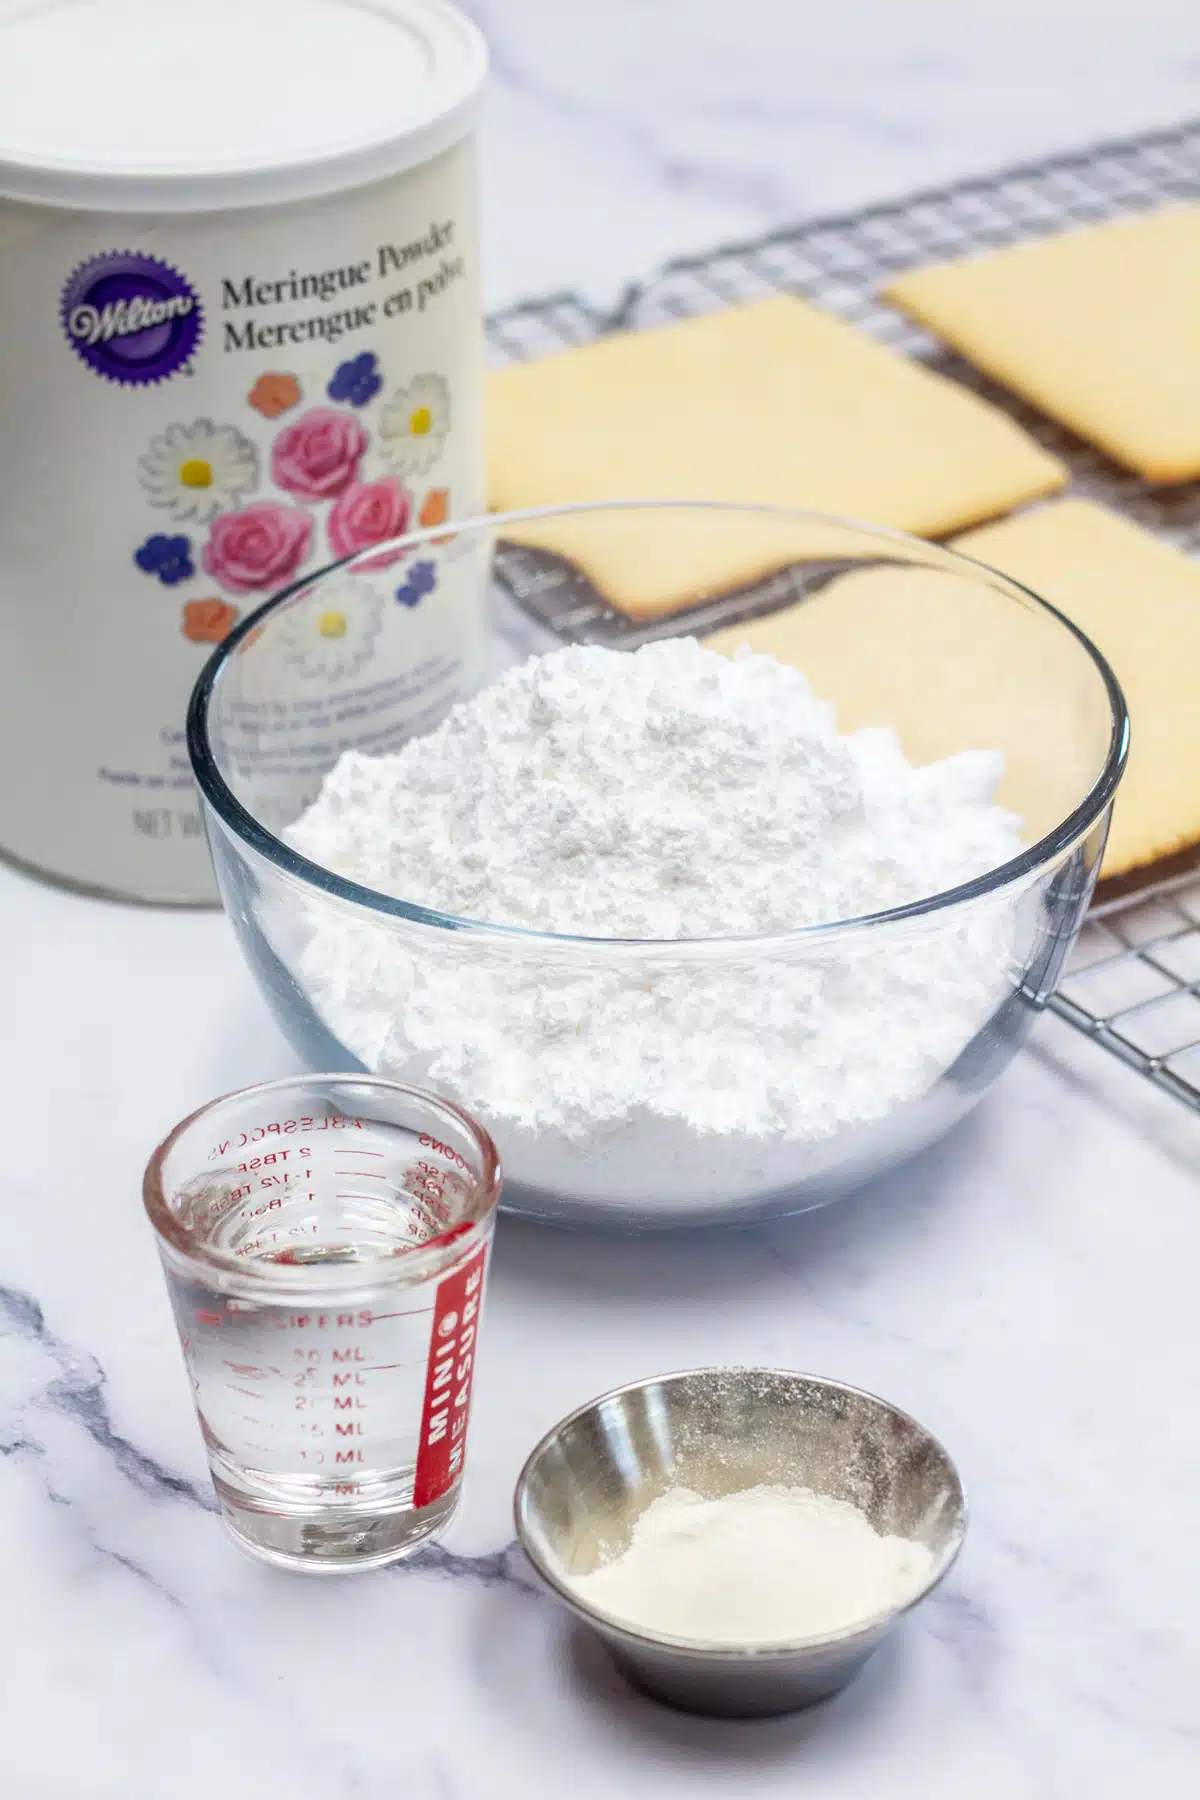
- Gingerbread Icing or Glue (recipe included with the sugar cookie recipe below) to glue the sides of the gift box together. Save your remaining icing to thin out for decorating if desired.
- Piping Bag or Plastic Storage Bag for piping the glue between your sugar cookie pieces.
Build Your Edible Christmas Cookie Gift Box
I've listed out the supplies above, and most are pretty standard baking equipment that I keep busy during the holiday season. 🎅🍪 Grab a few extra items and bake up your boxes, whip up some icing, and assemble one or more of these easy DIY gift boxes!
Make The Sugar Cookie Dough
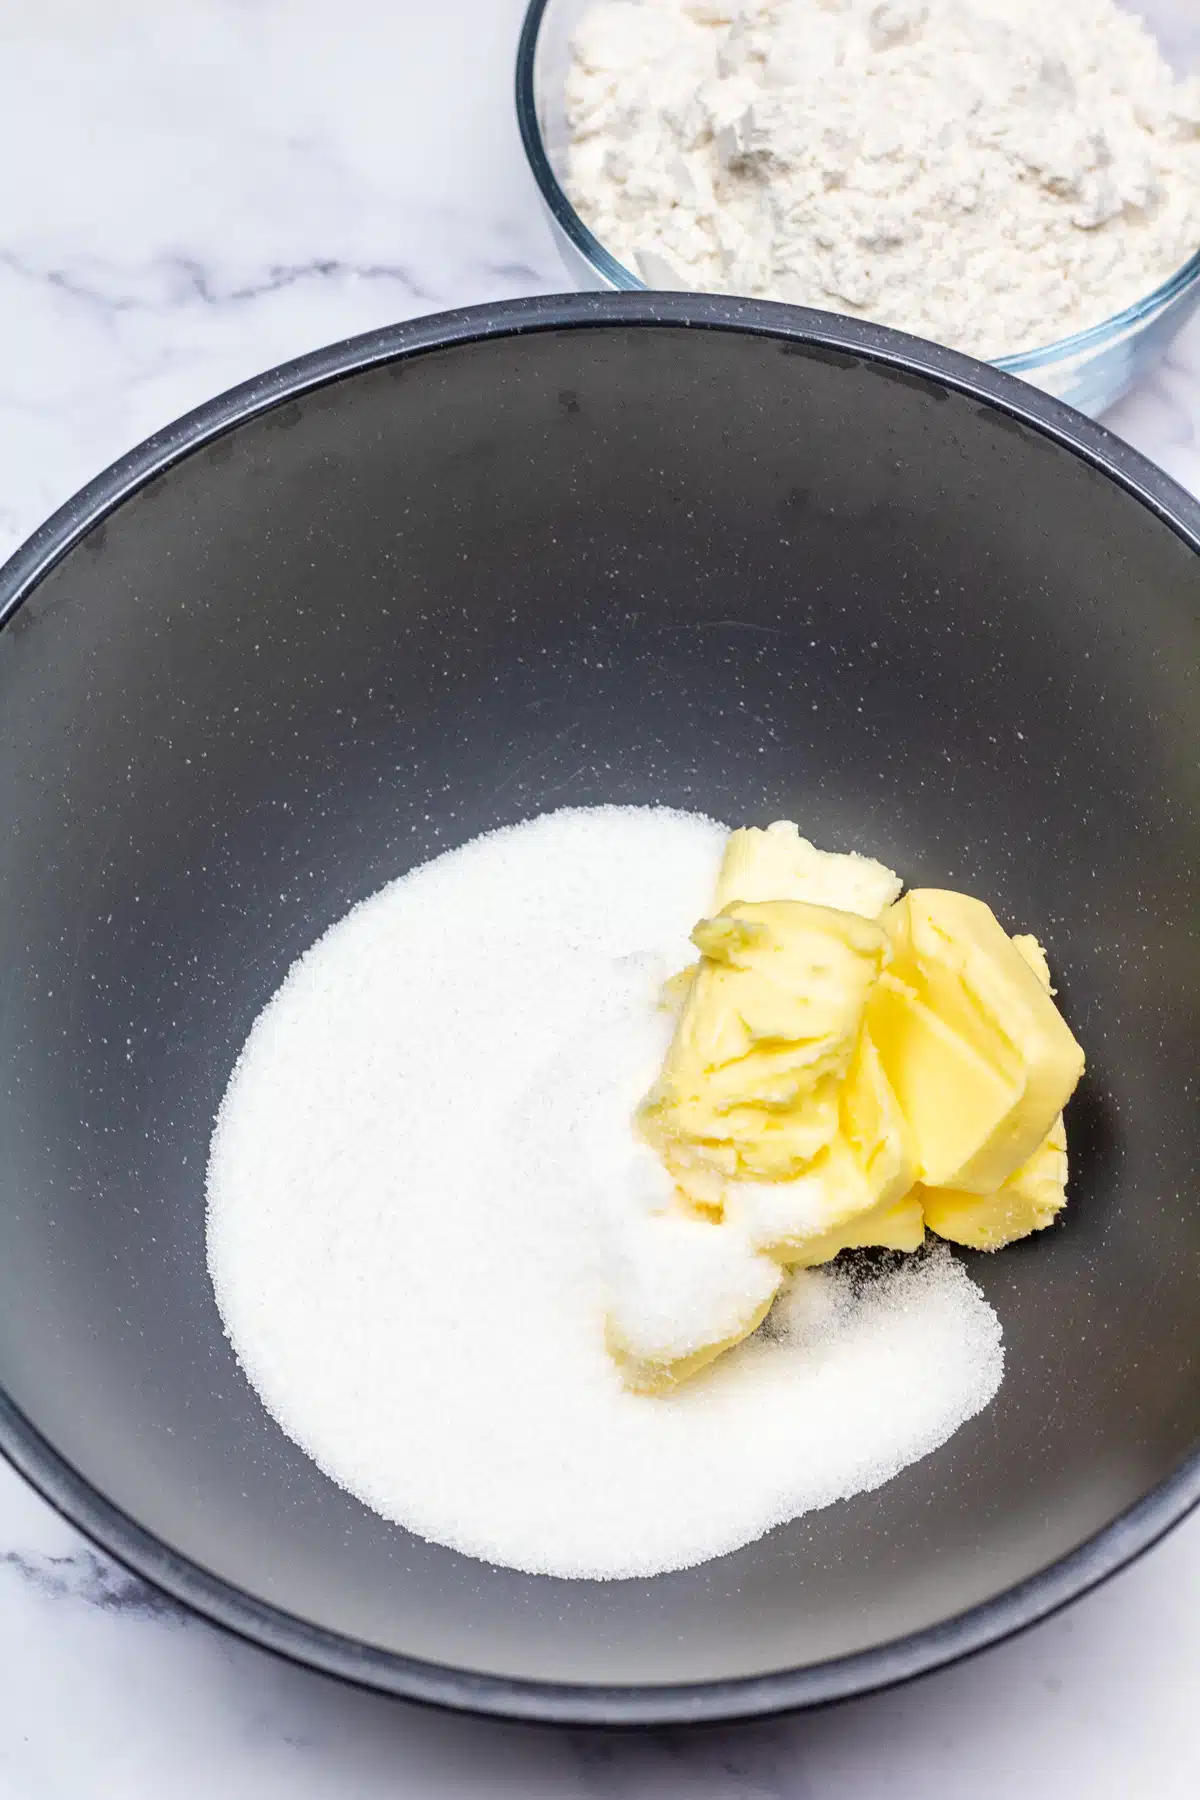
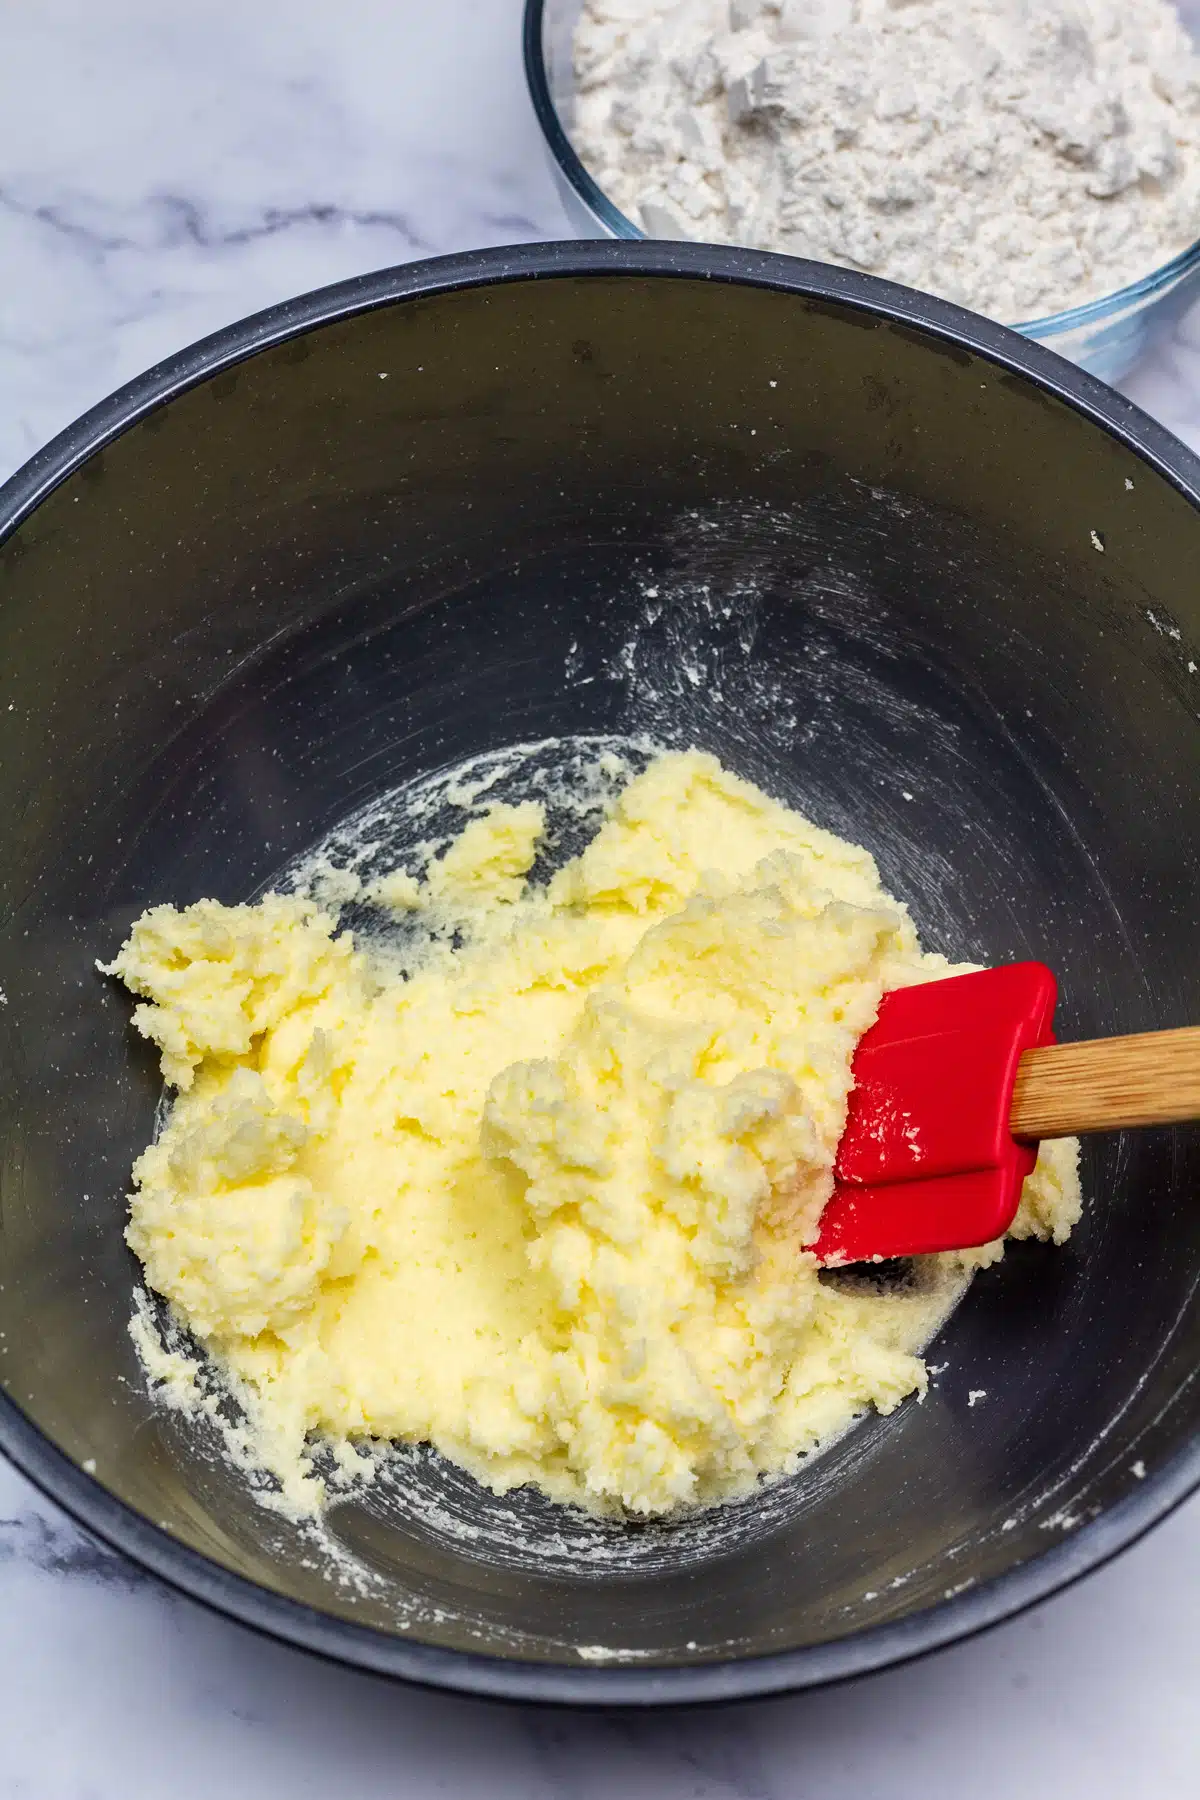
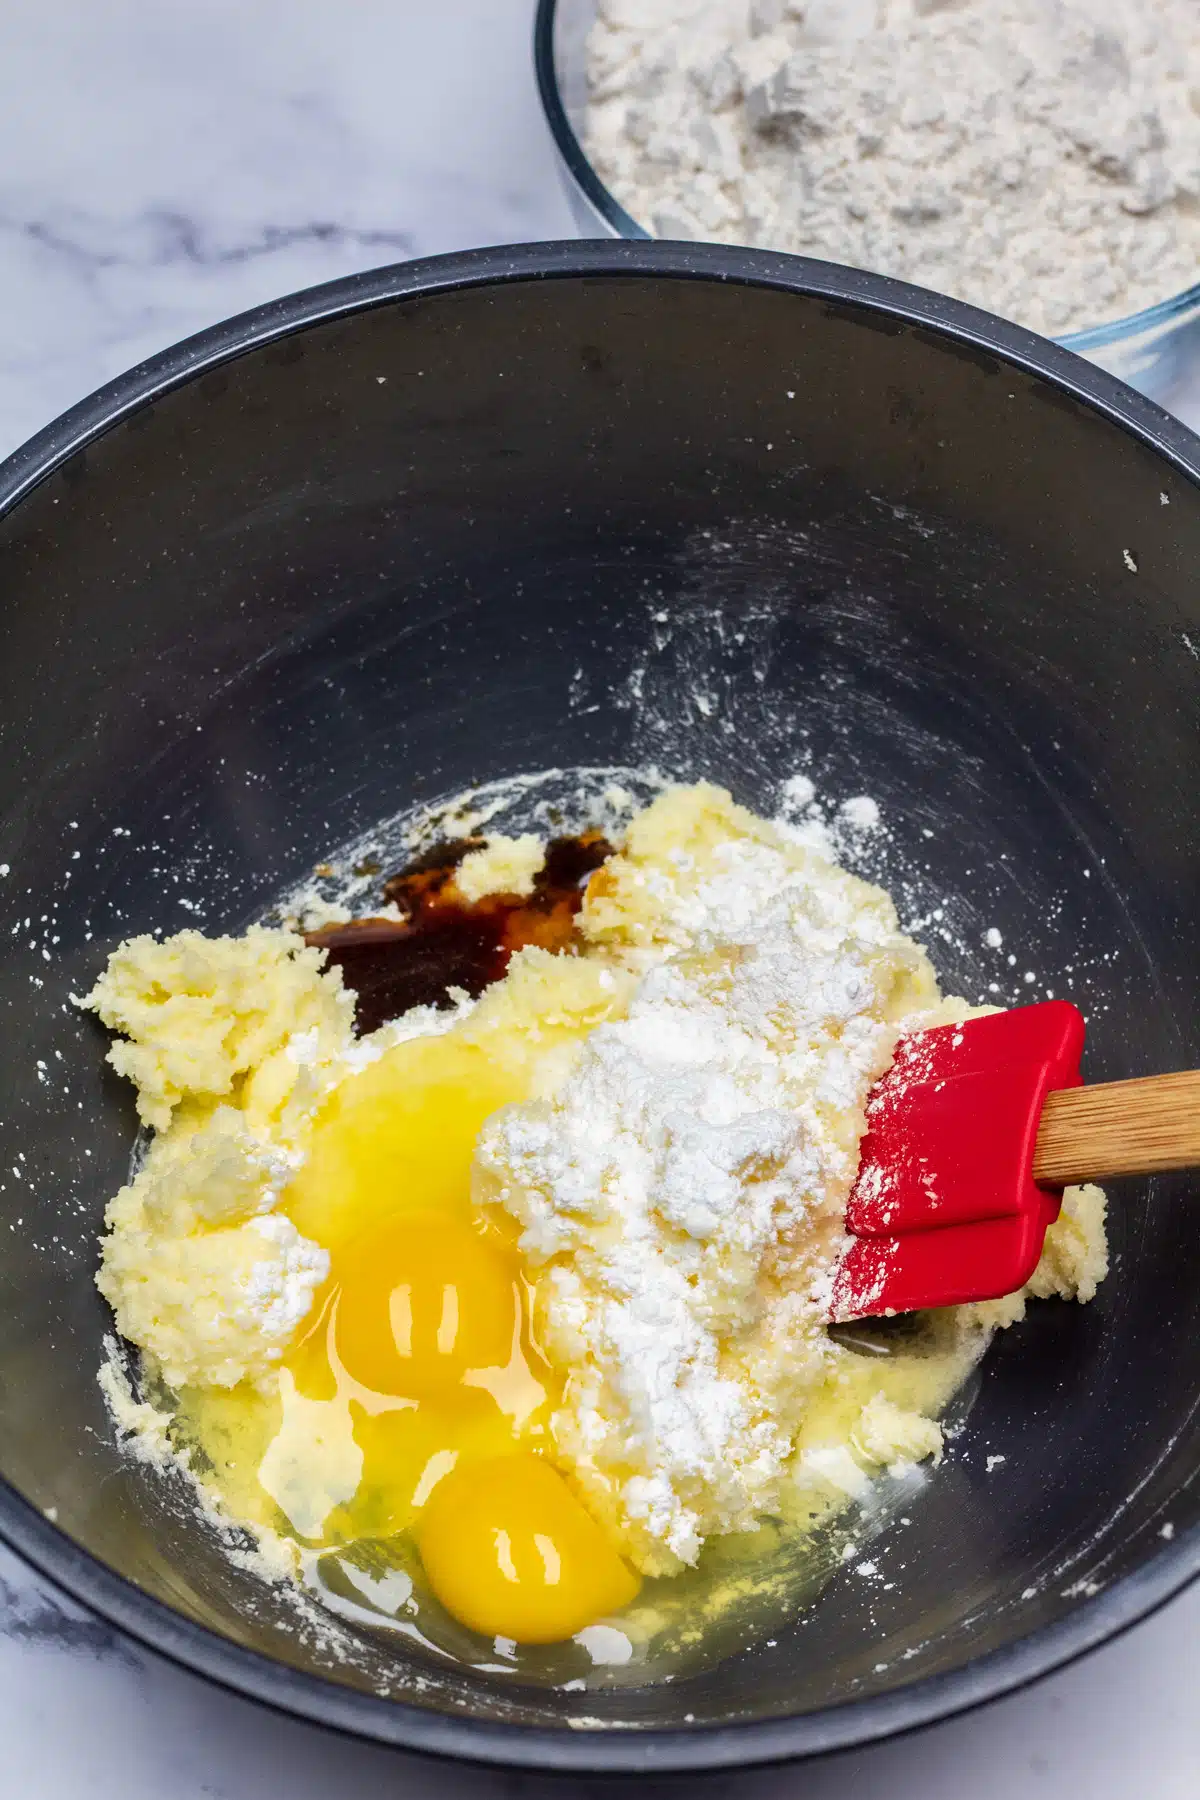
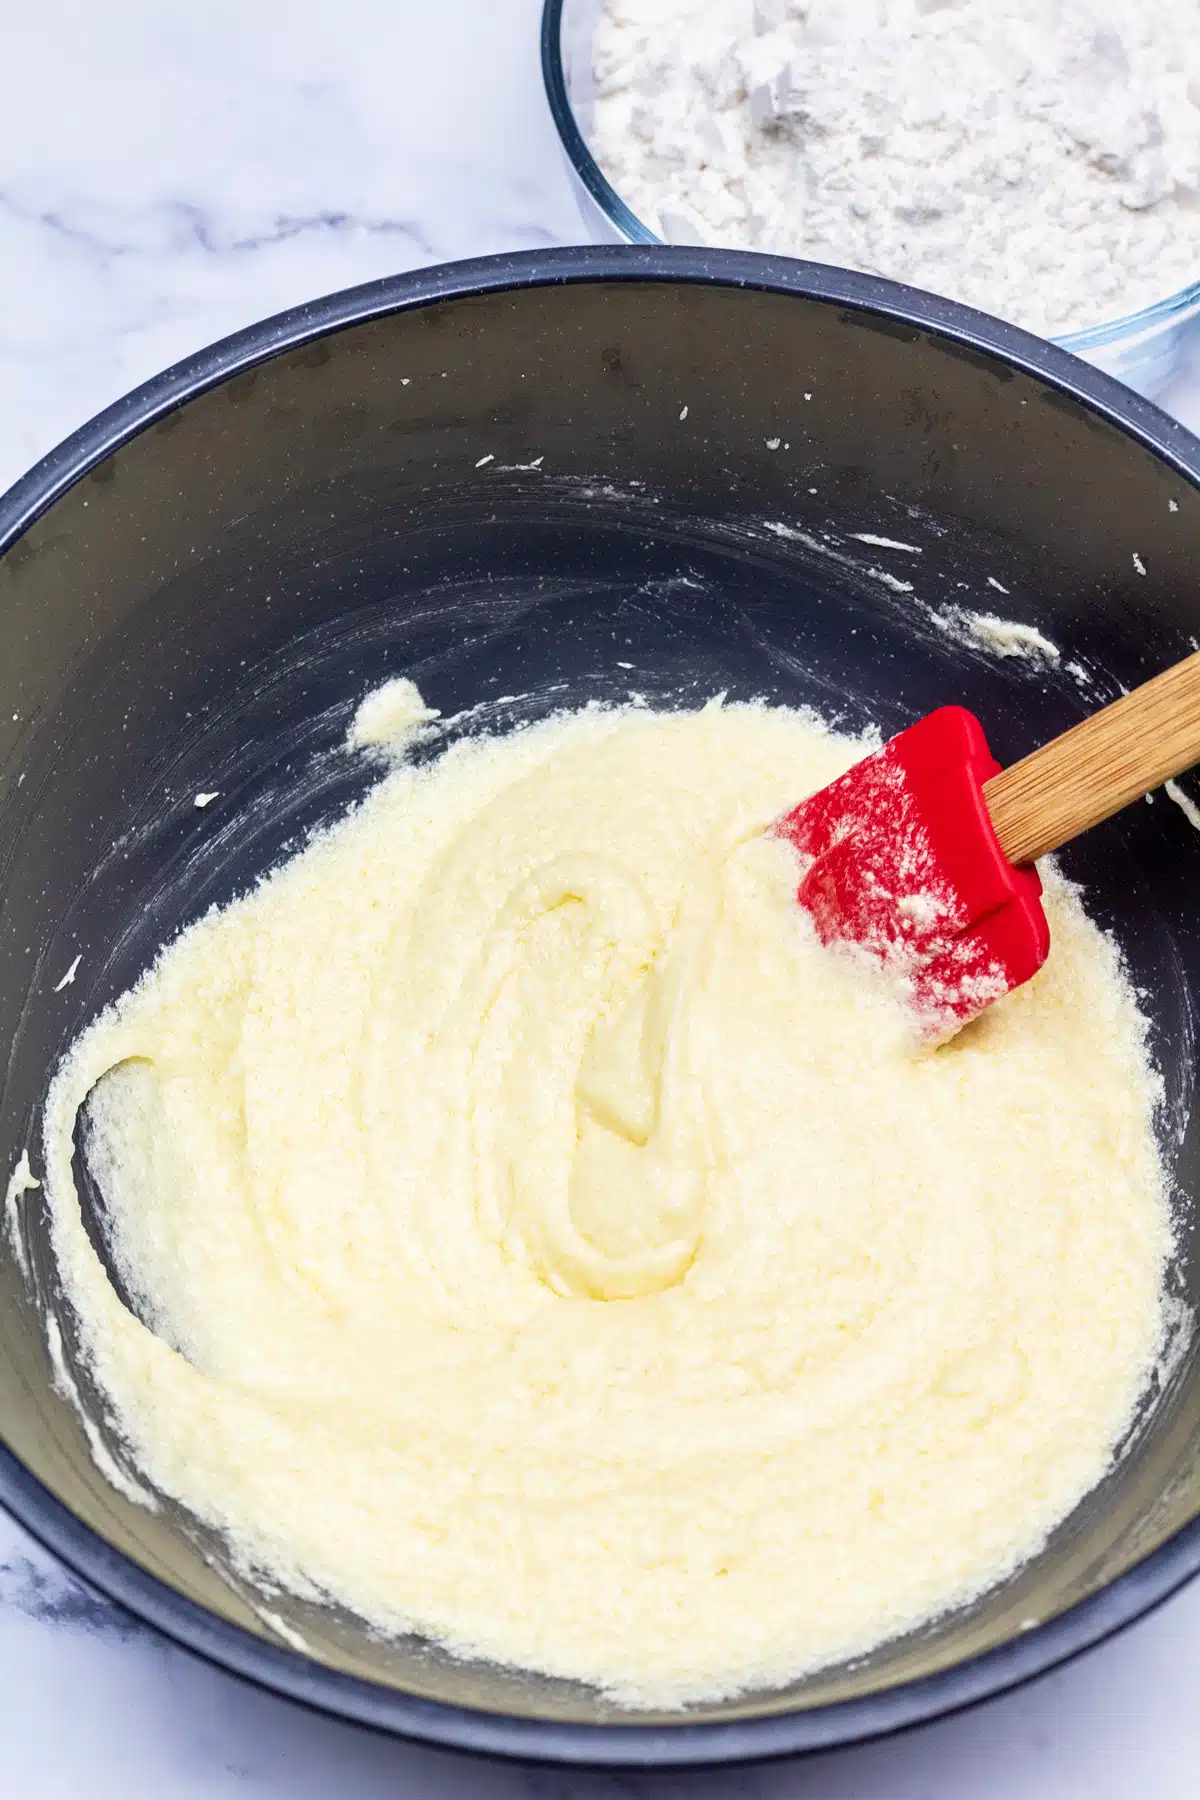
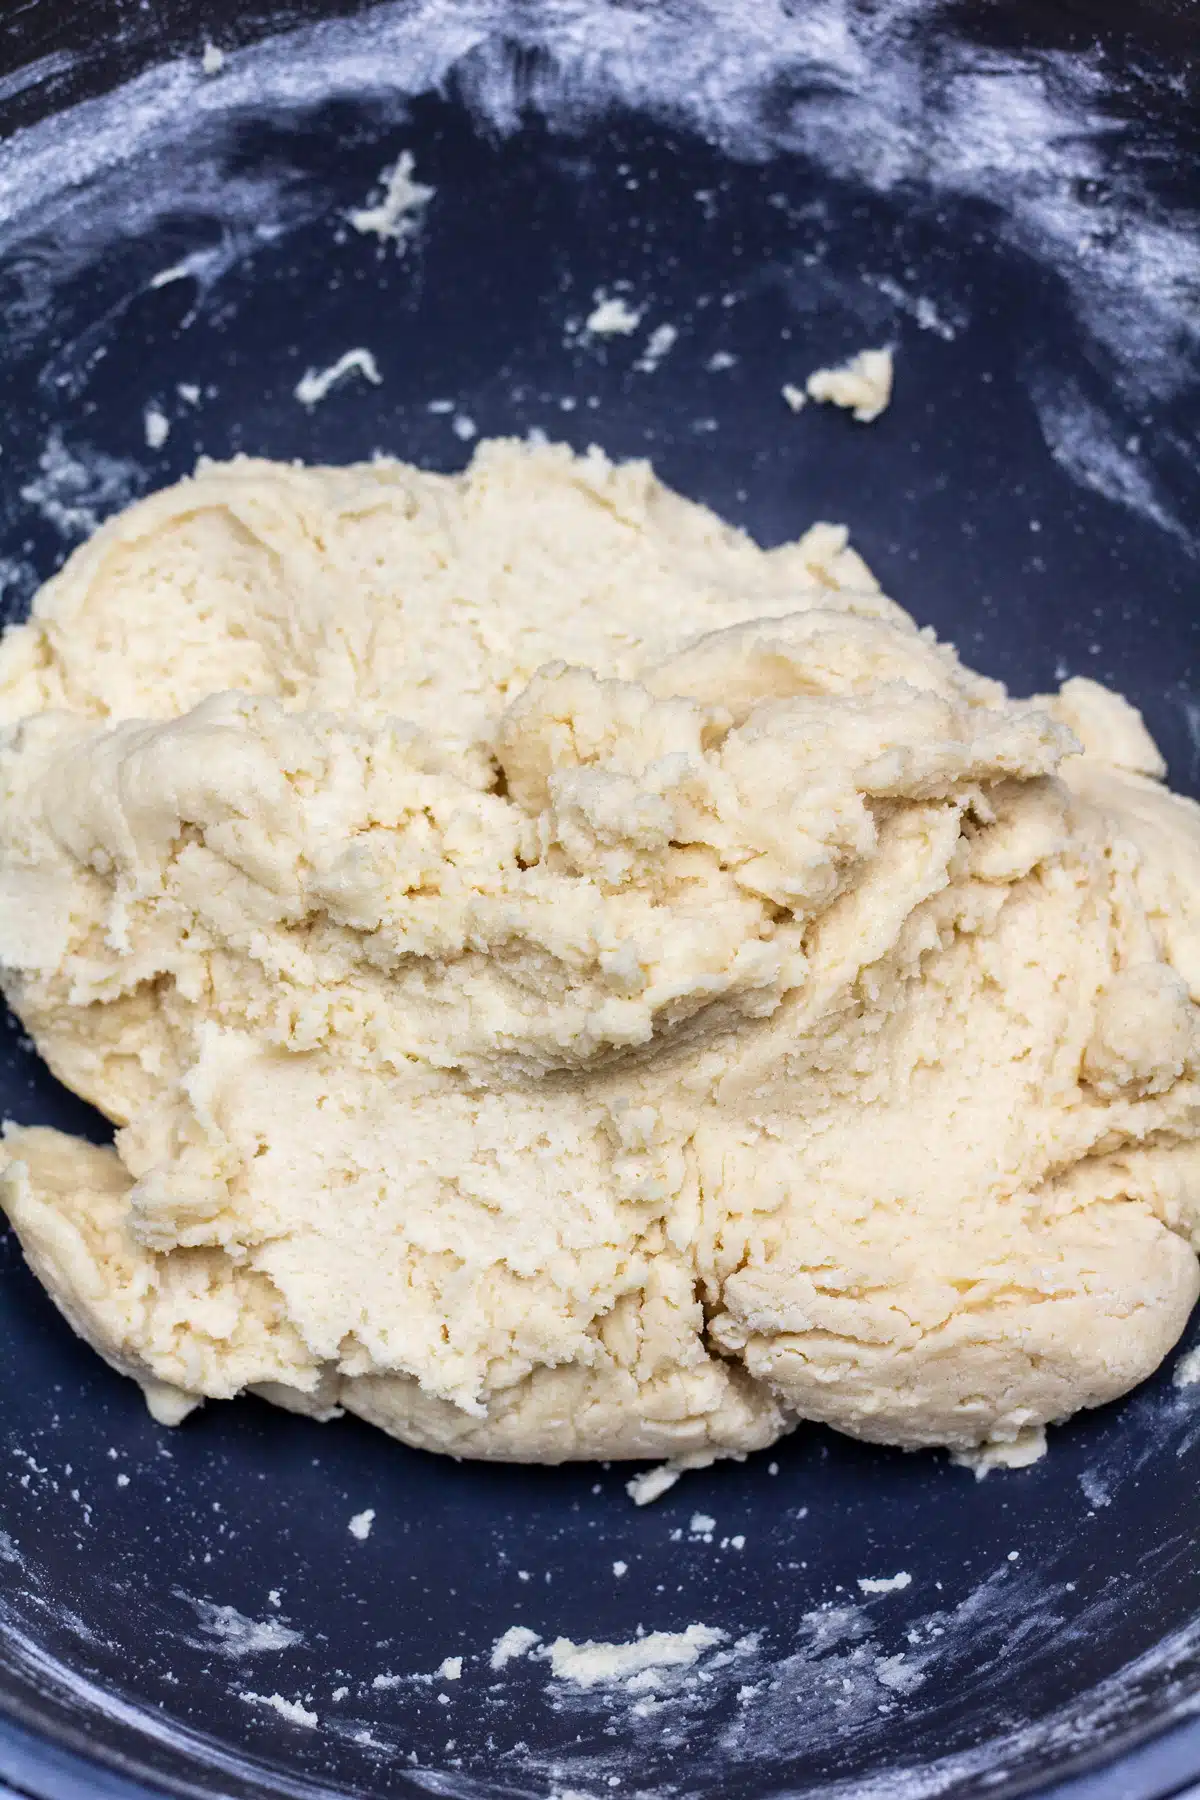
- Make the dough. Cream together the shortening, butter, and sugar until light and fluffy. Add the baking powder, salt, vanilla extract, and eggs then mix until smooth and evenly distributed.
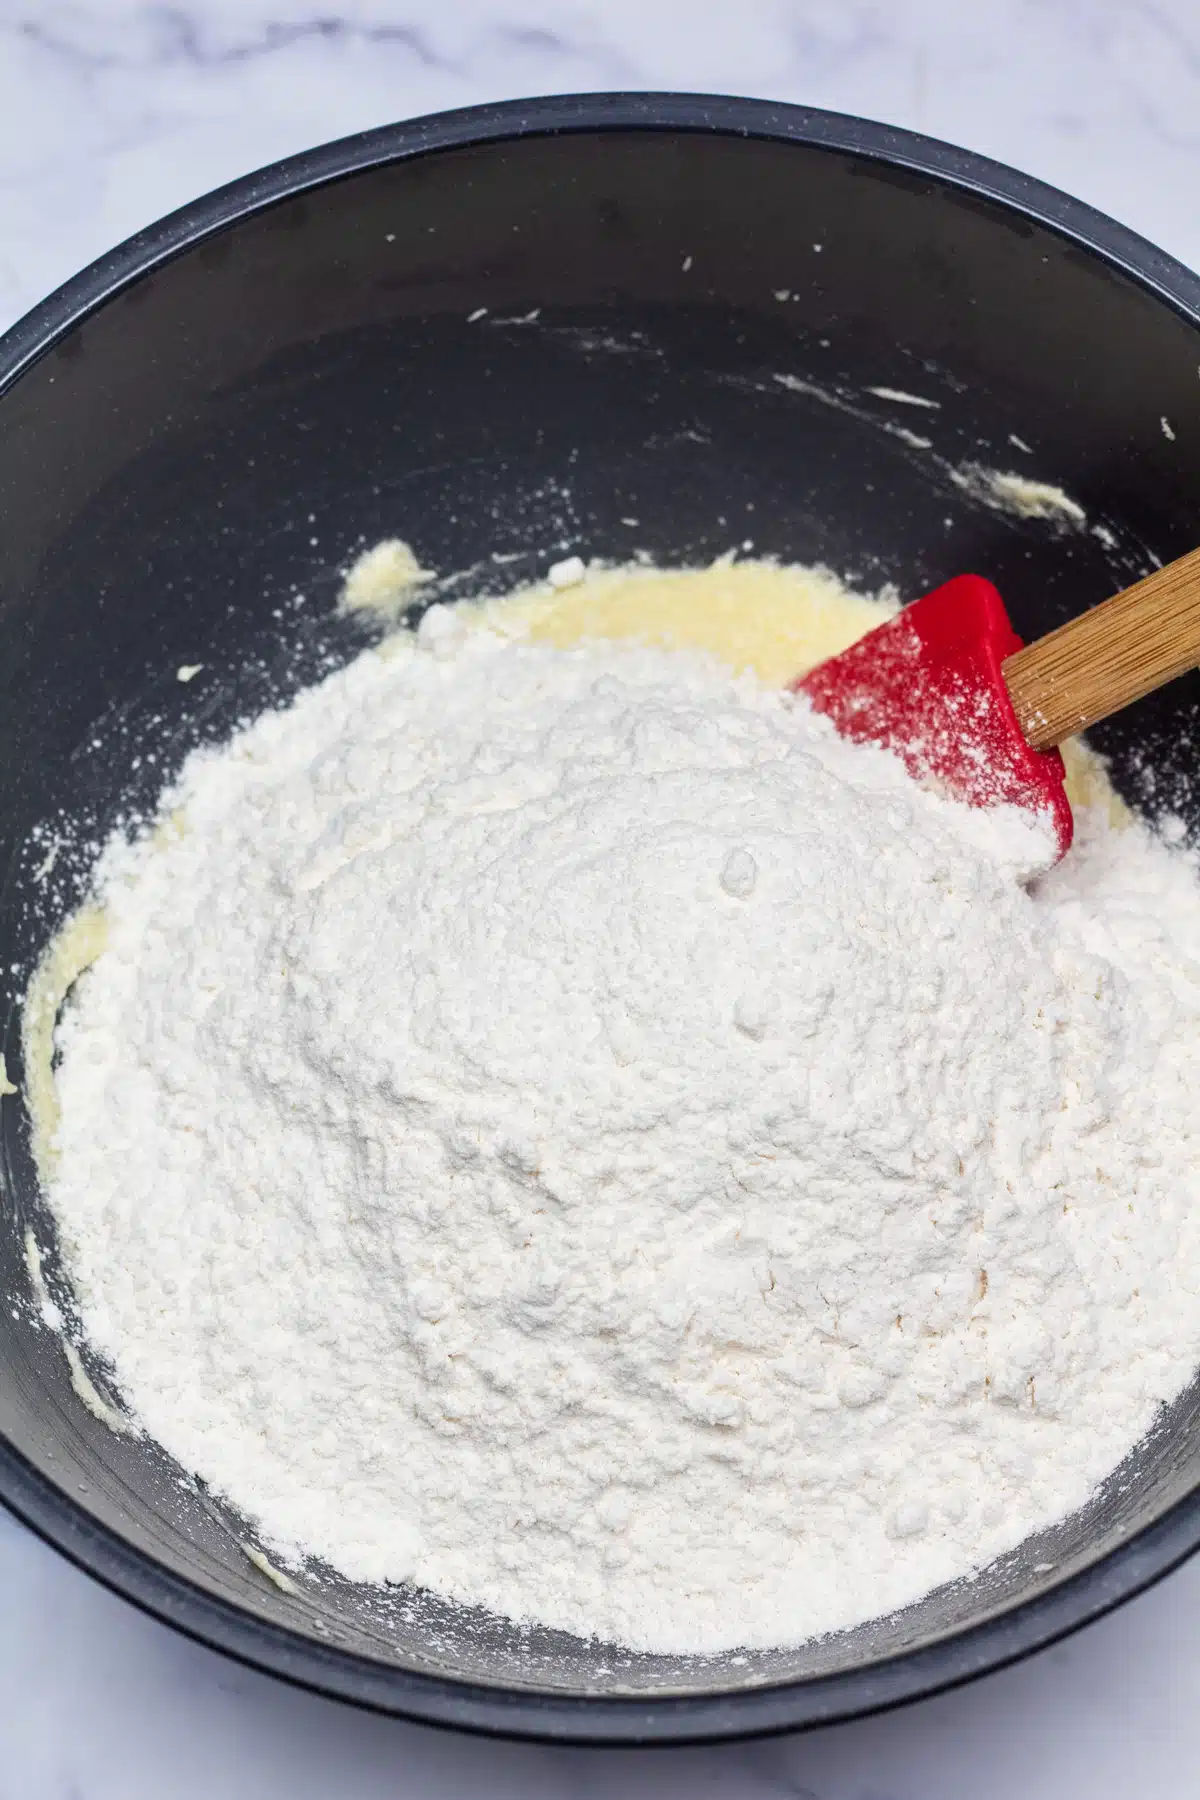
- Add flour & chill. Mix in the flour then cover your bowl of dough with a sheet of plastic cling film and chill for at least an hour.
Cut Out Sugar Cookie Boxes & Bake
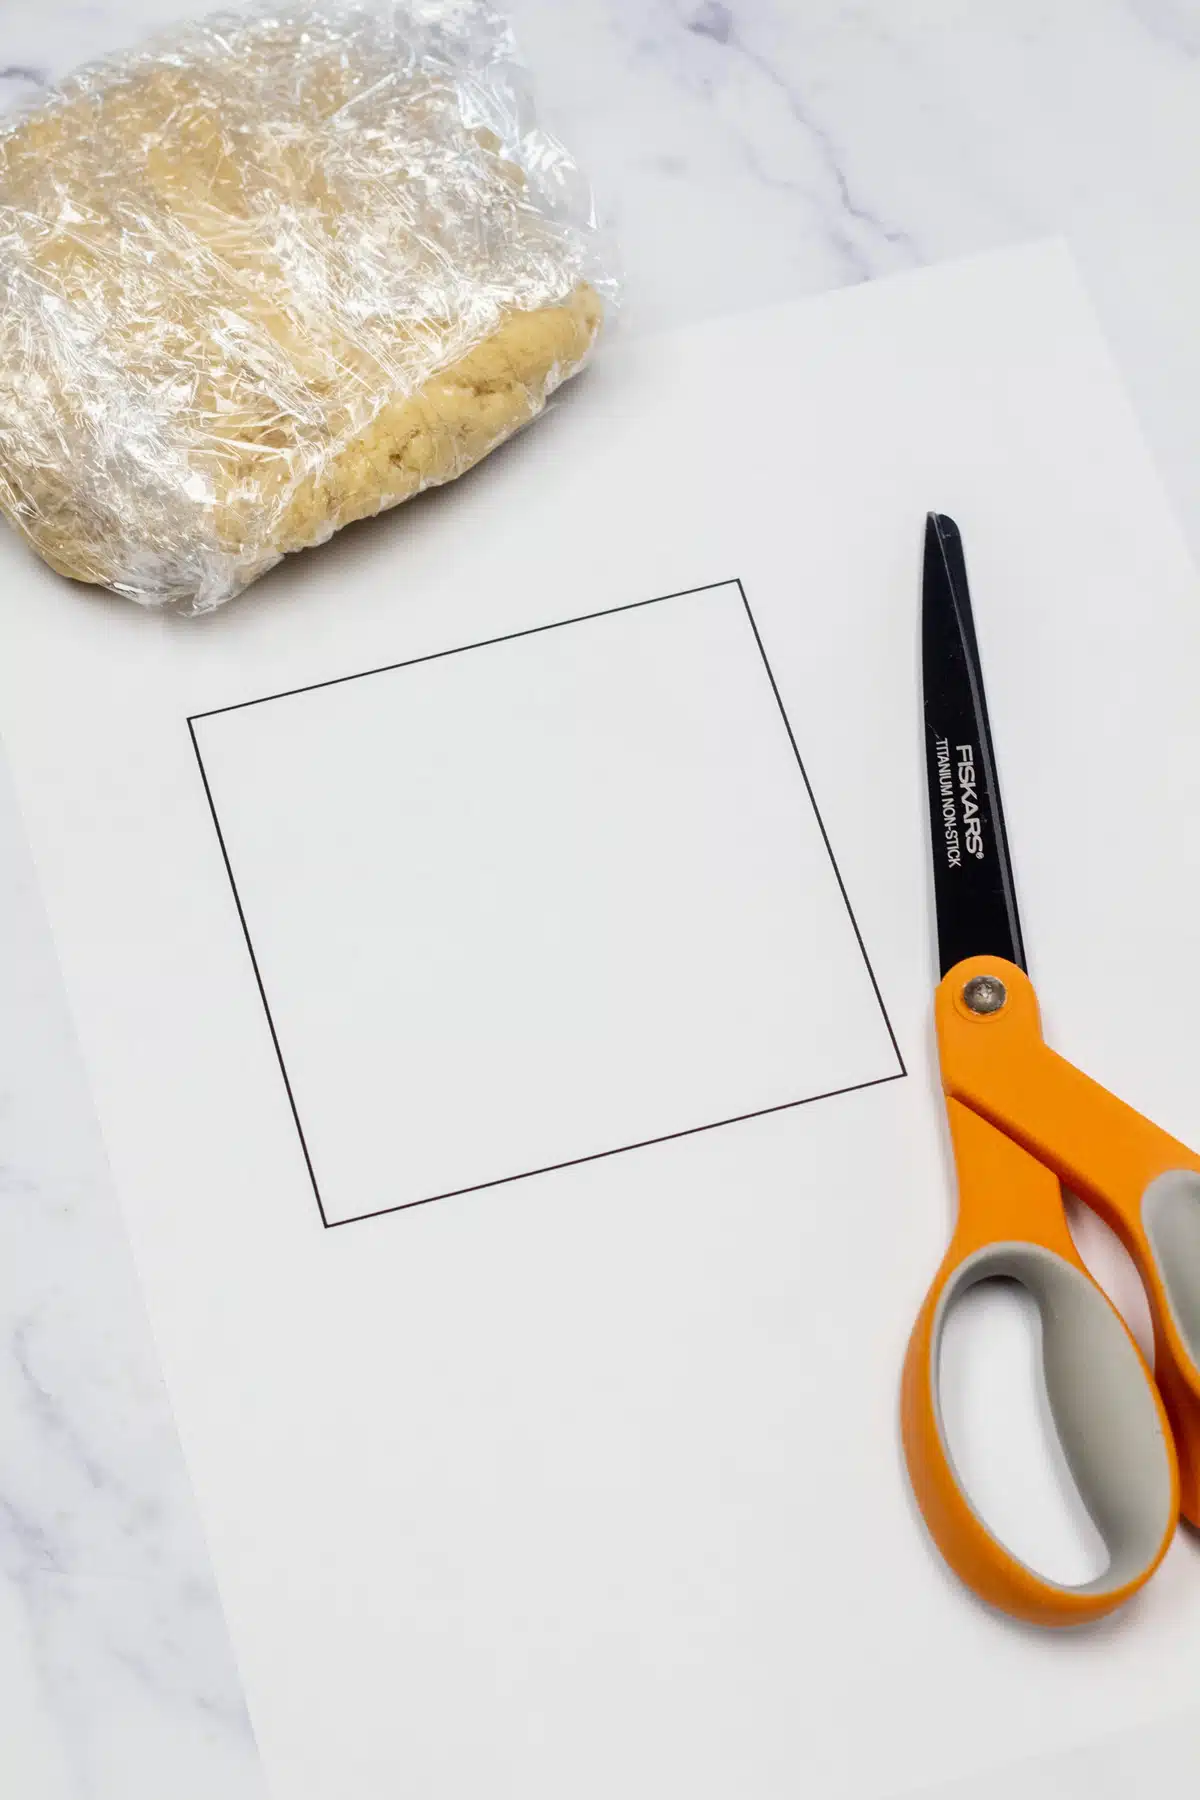
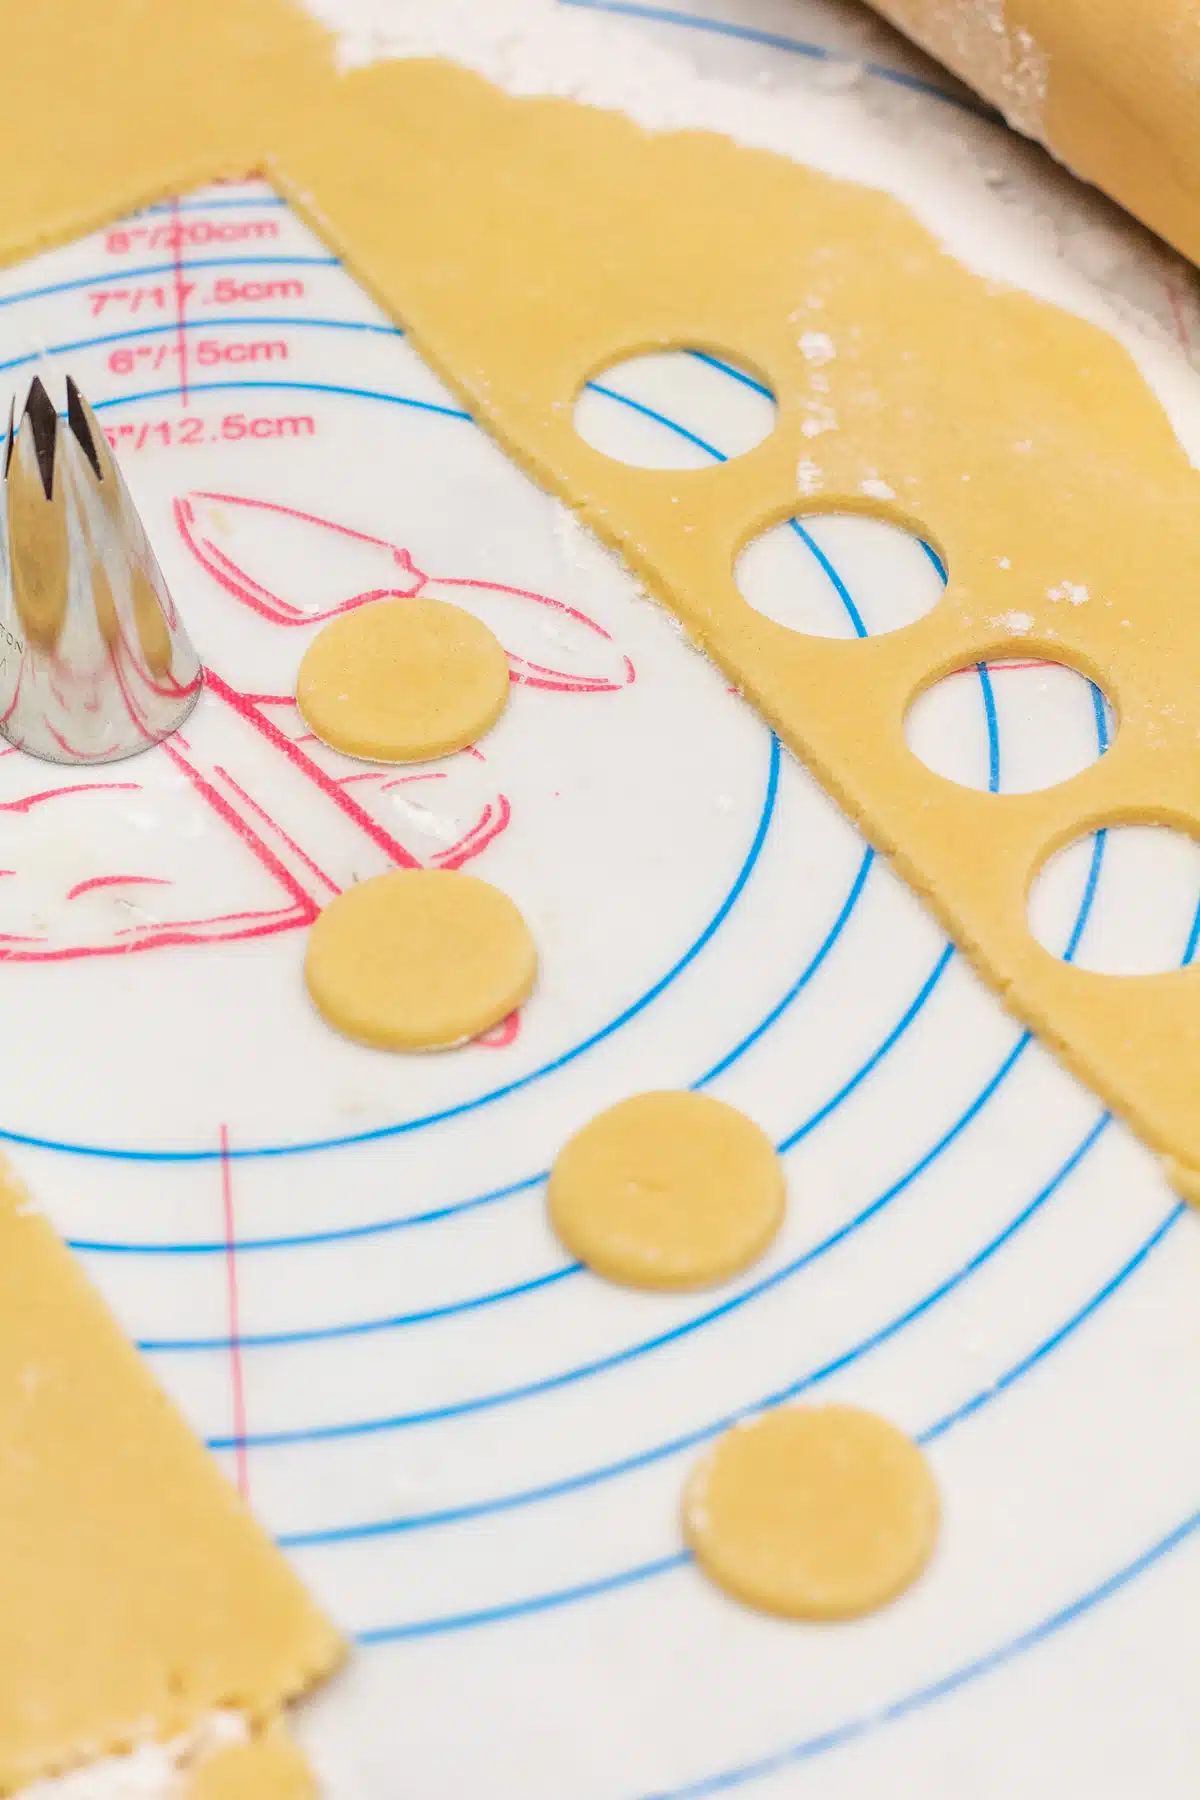
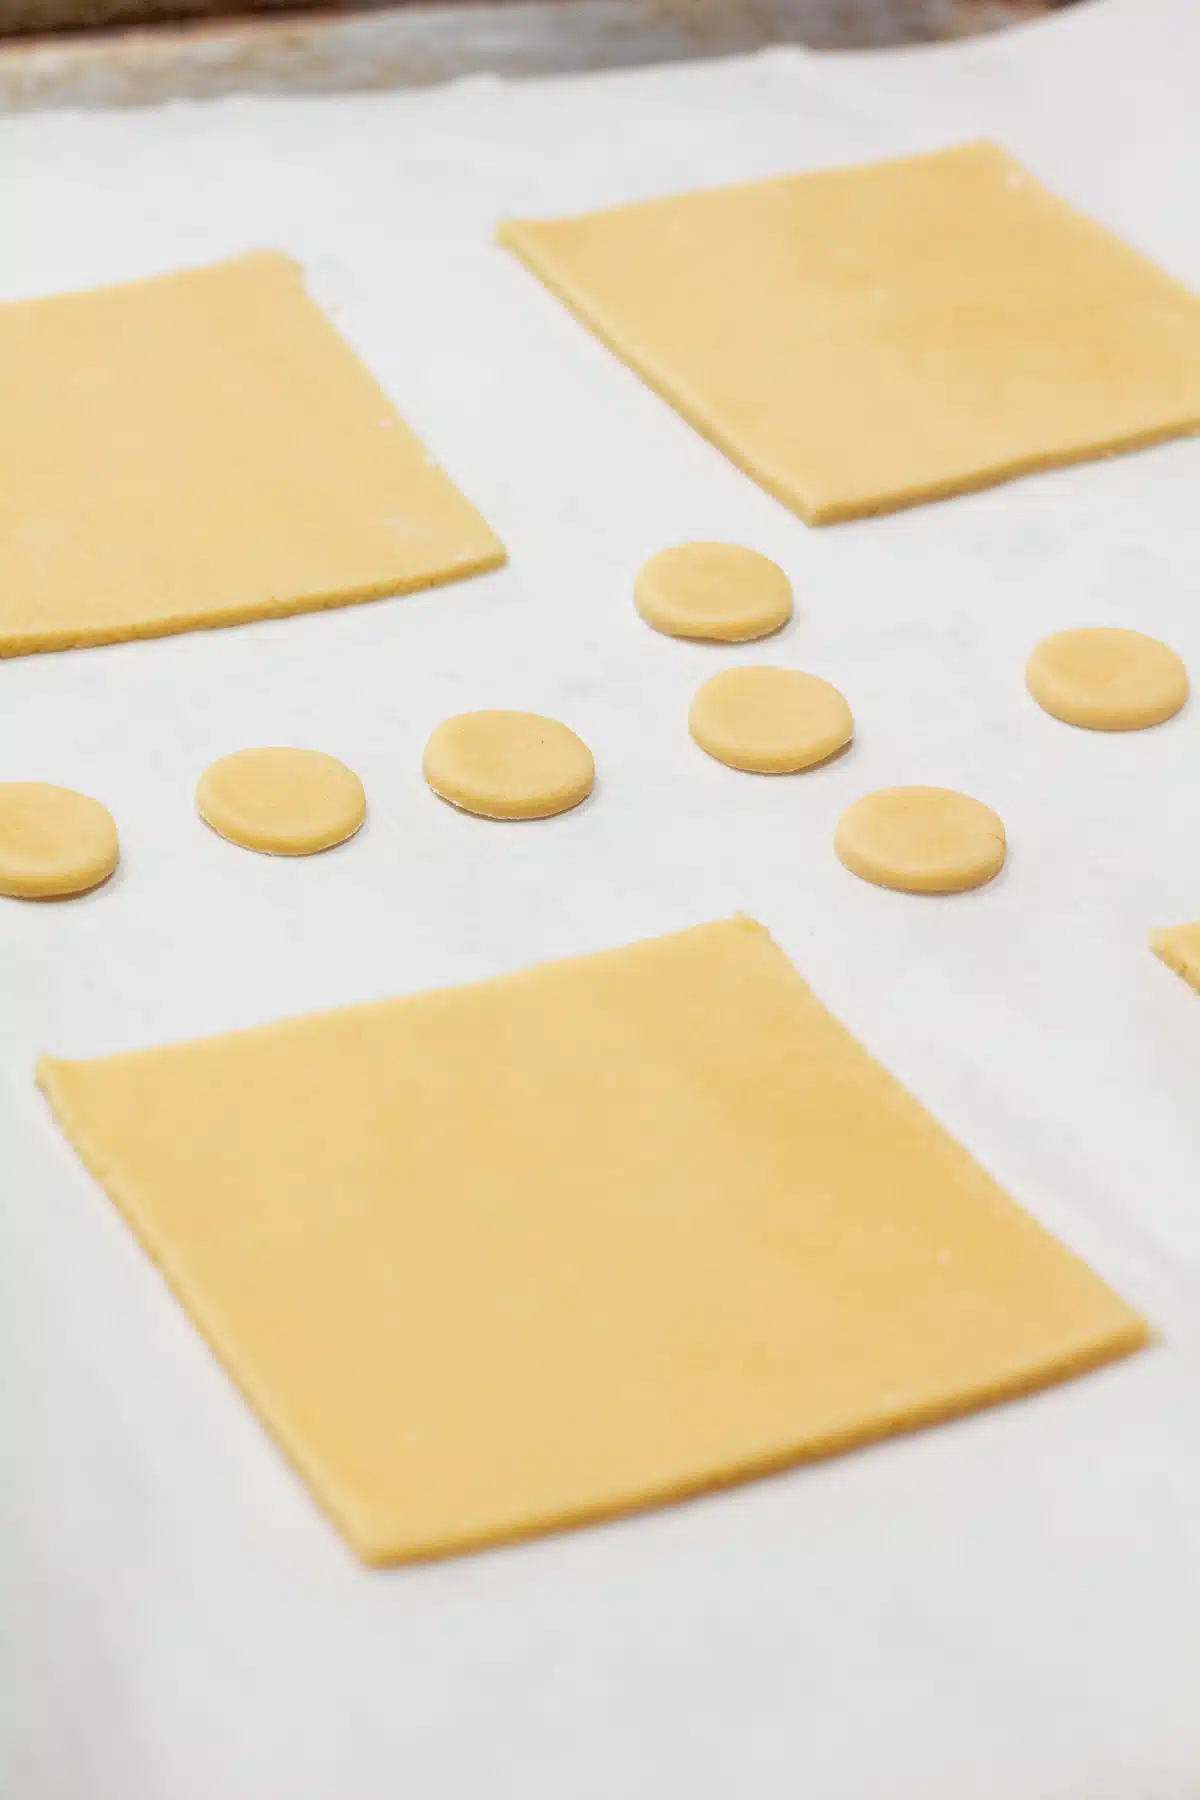
- Prep. Preheat your oven to 400°F (205°C) and line your baking sheet(s) with parchment paper.
- Cut out sugar cookie squares. Roll the sugar cookie dough to ¼-inch thickness on a lightly floured pastry mat. Cut out your desired shapes and use a spatula to lift and transfer them to your baking sheet(s).
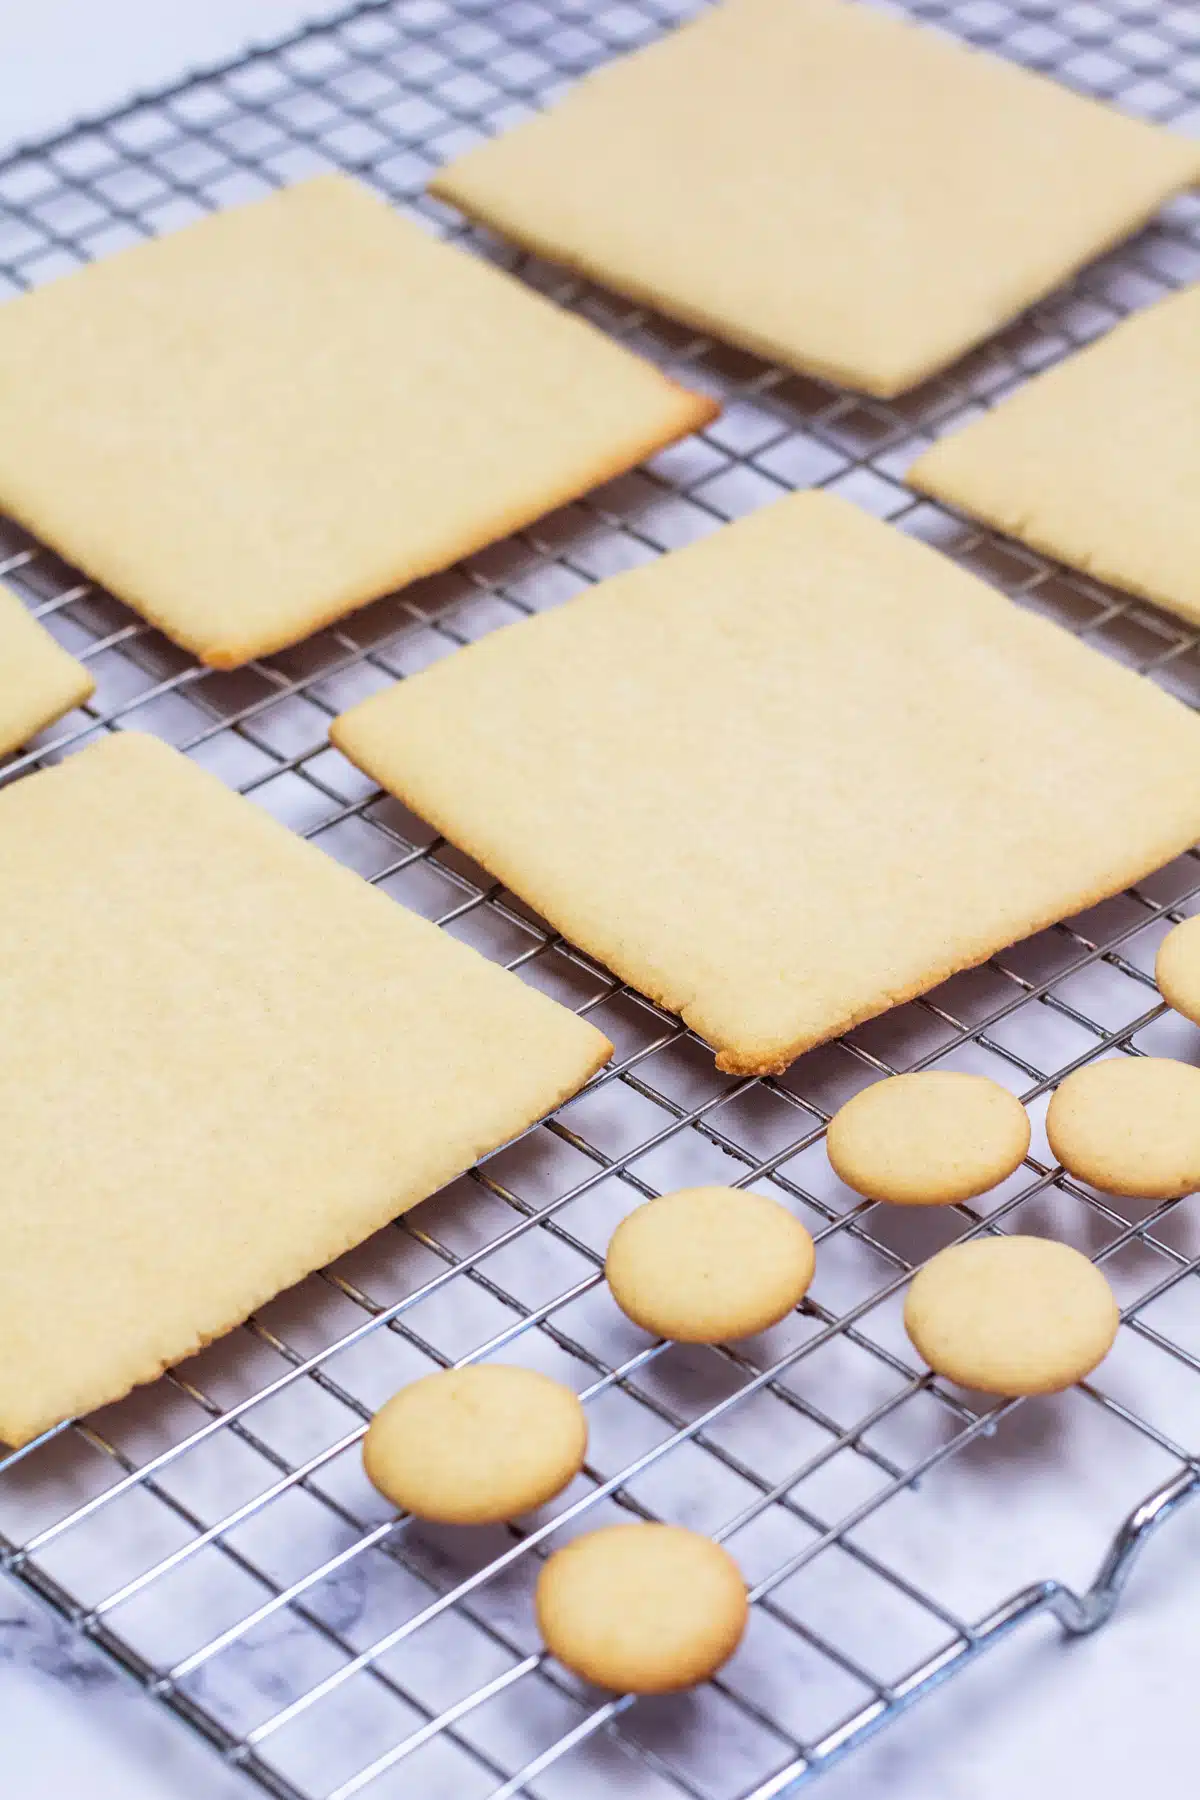
- Bake and cool. Place in the middle of your oven's center rack for 6-8 minutes to bake the sugar cookies. Remove from the oven when the bottom begins to turn a light golden brown color. Allow the cookies to cool on the baking sheet for 5 minutes before transferring them to a wire cooling rack.
How To Make Gingerbread House Glue
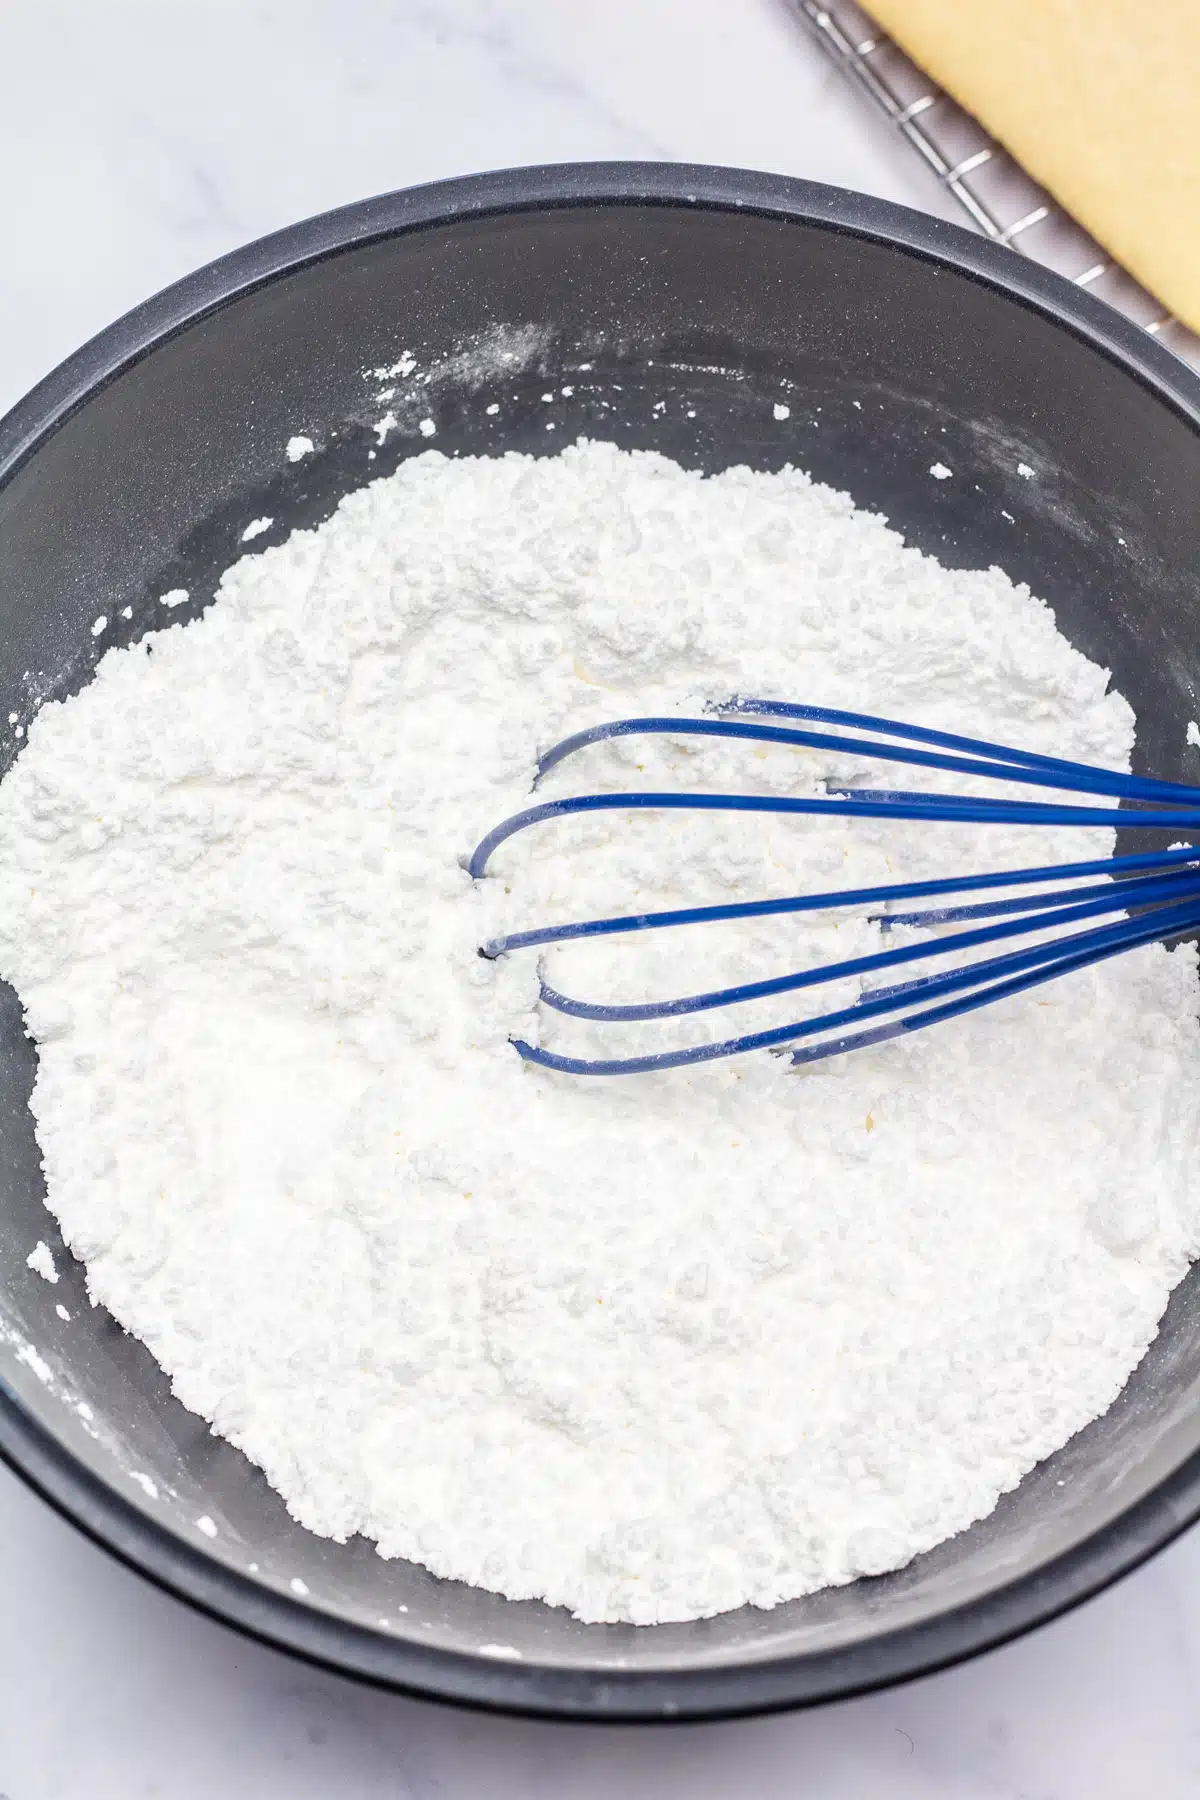
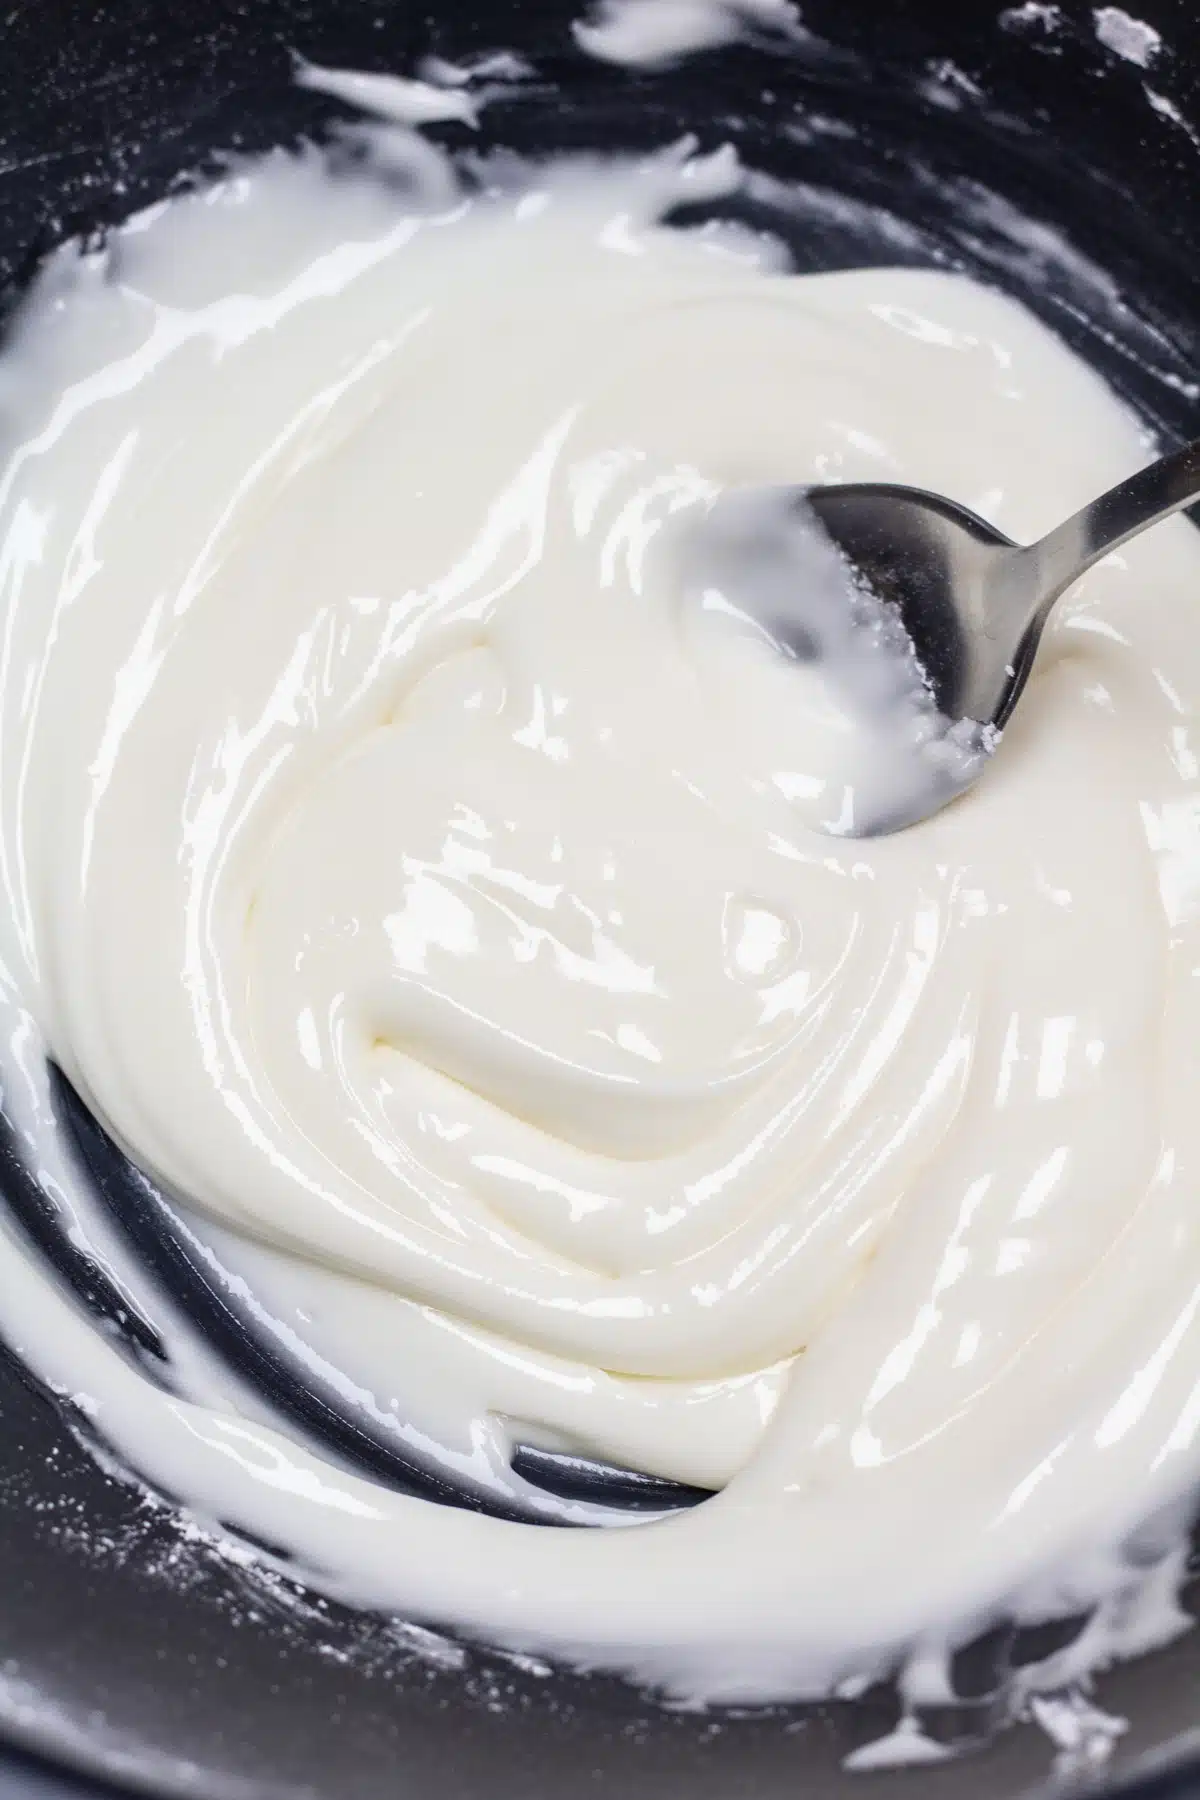
- Mix the icing. In a medium mixing bowl whisk together the confectioners' sugar and meringue powder. Add the cold water and stir until smooth.
- Check the 'glue' thickness. Adjust the consistency by drizzling a bit more water as needed. Stir until the icing is thick like toothpaste.
How To Assemble Edible Gift Boxes
Once you have all your supplies gathered, your sugar cookies rolled, cut out, and baked, and your icing mixed you're ready to build your gift boxes!
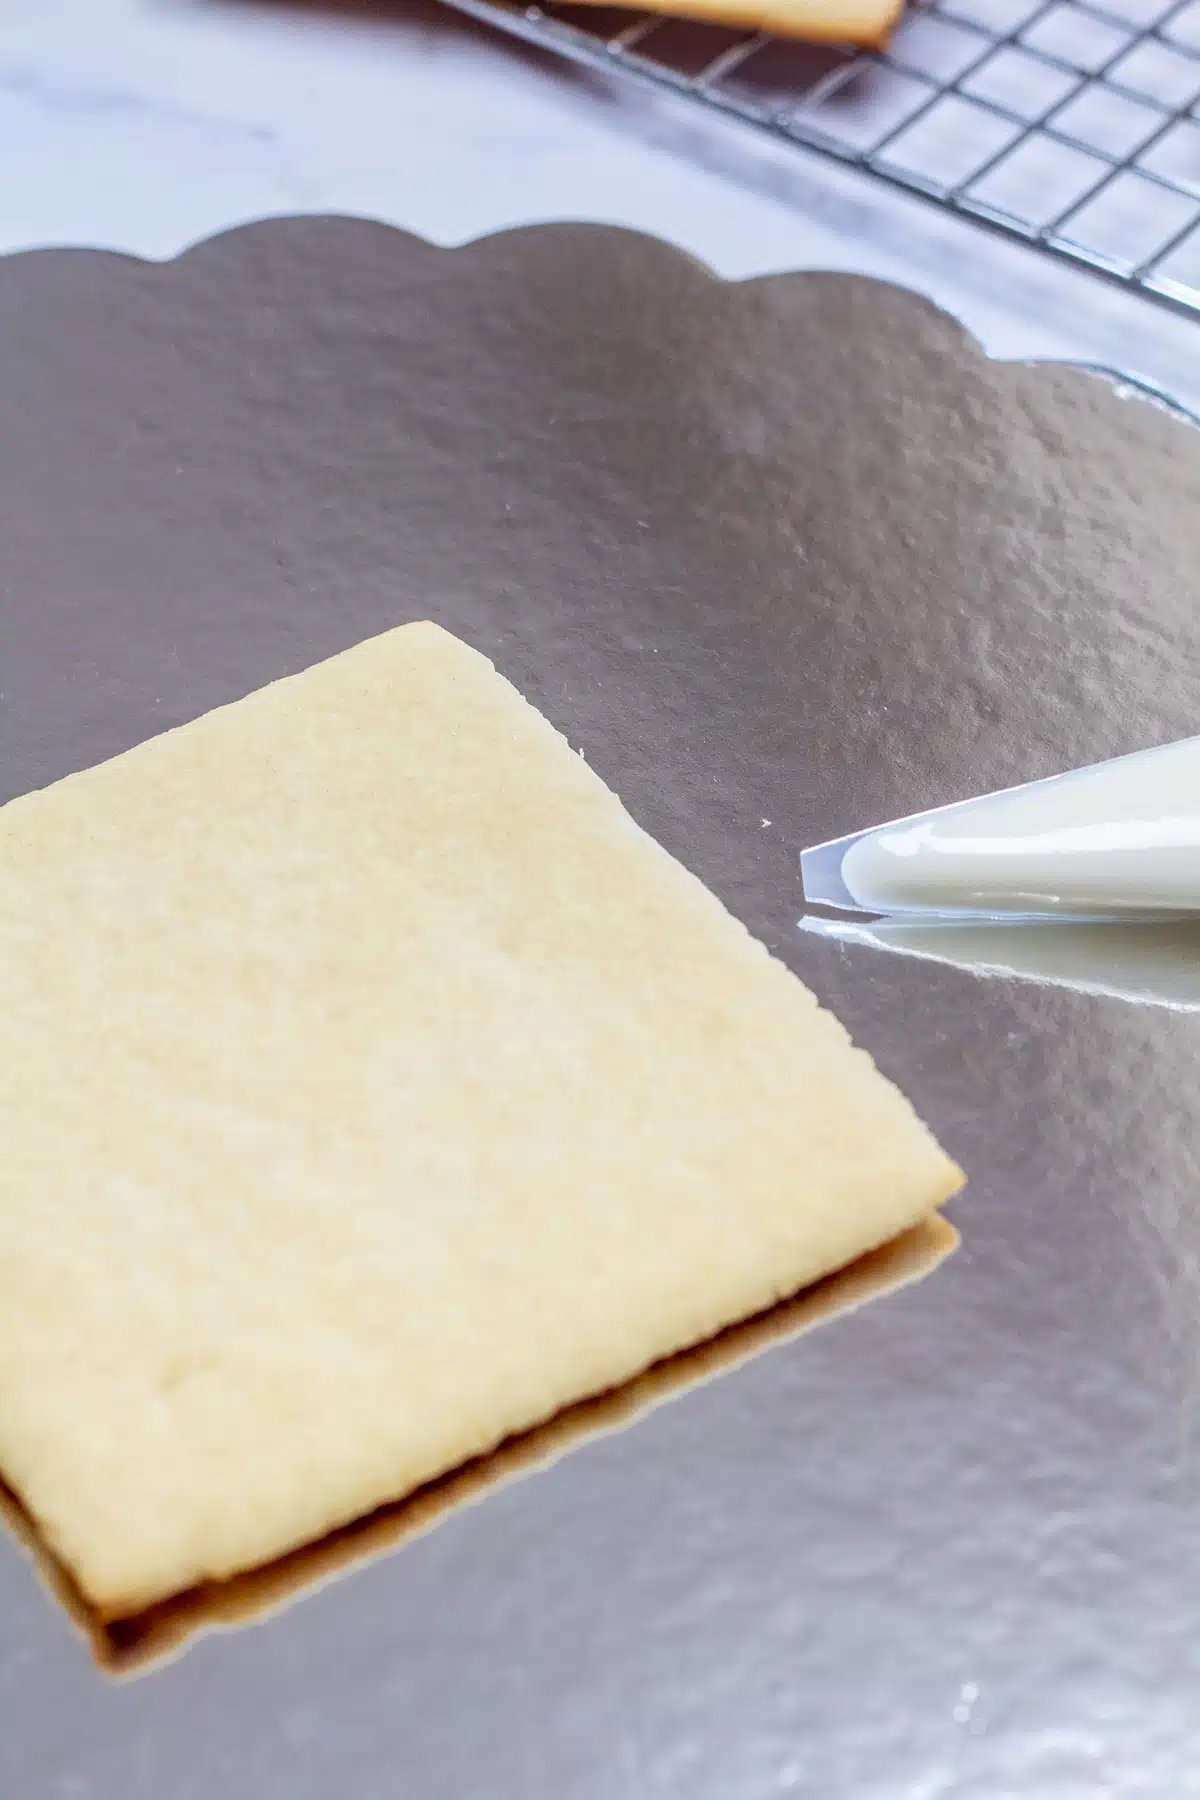
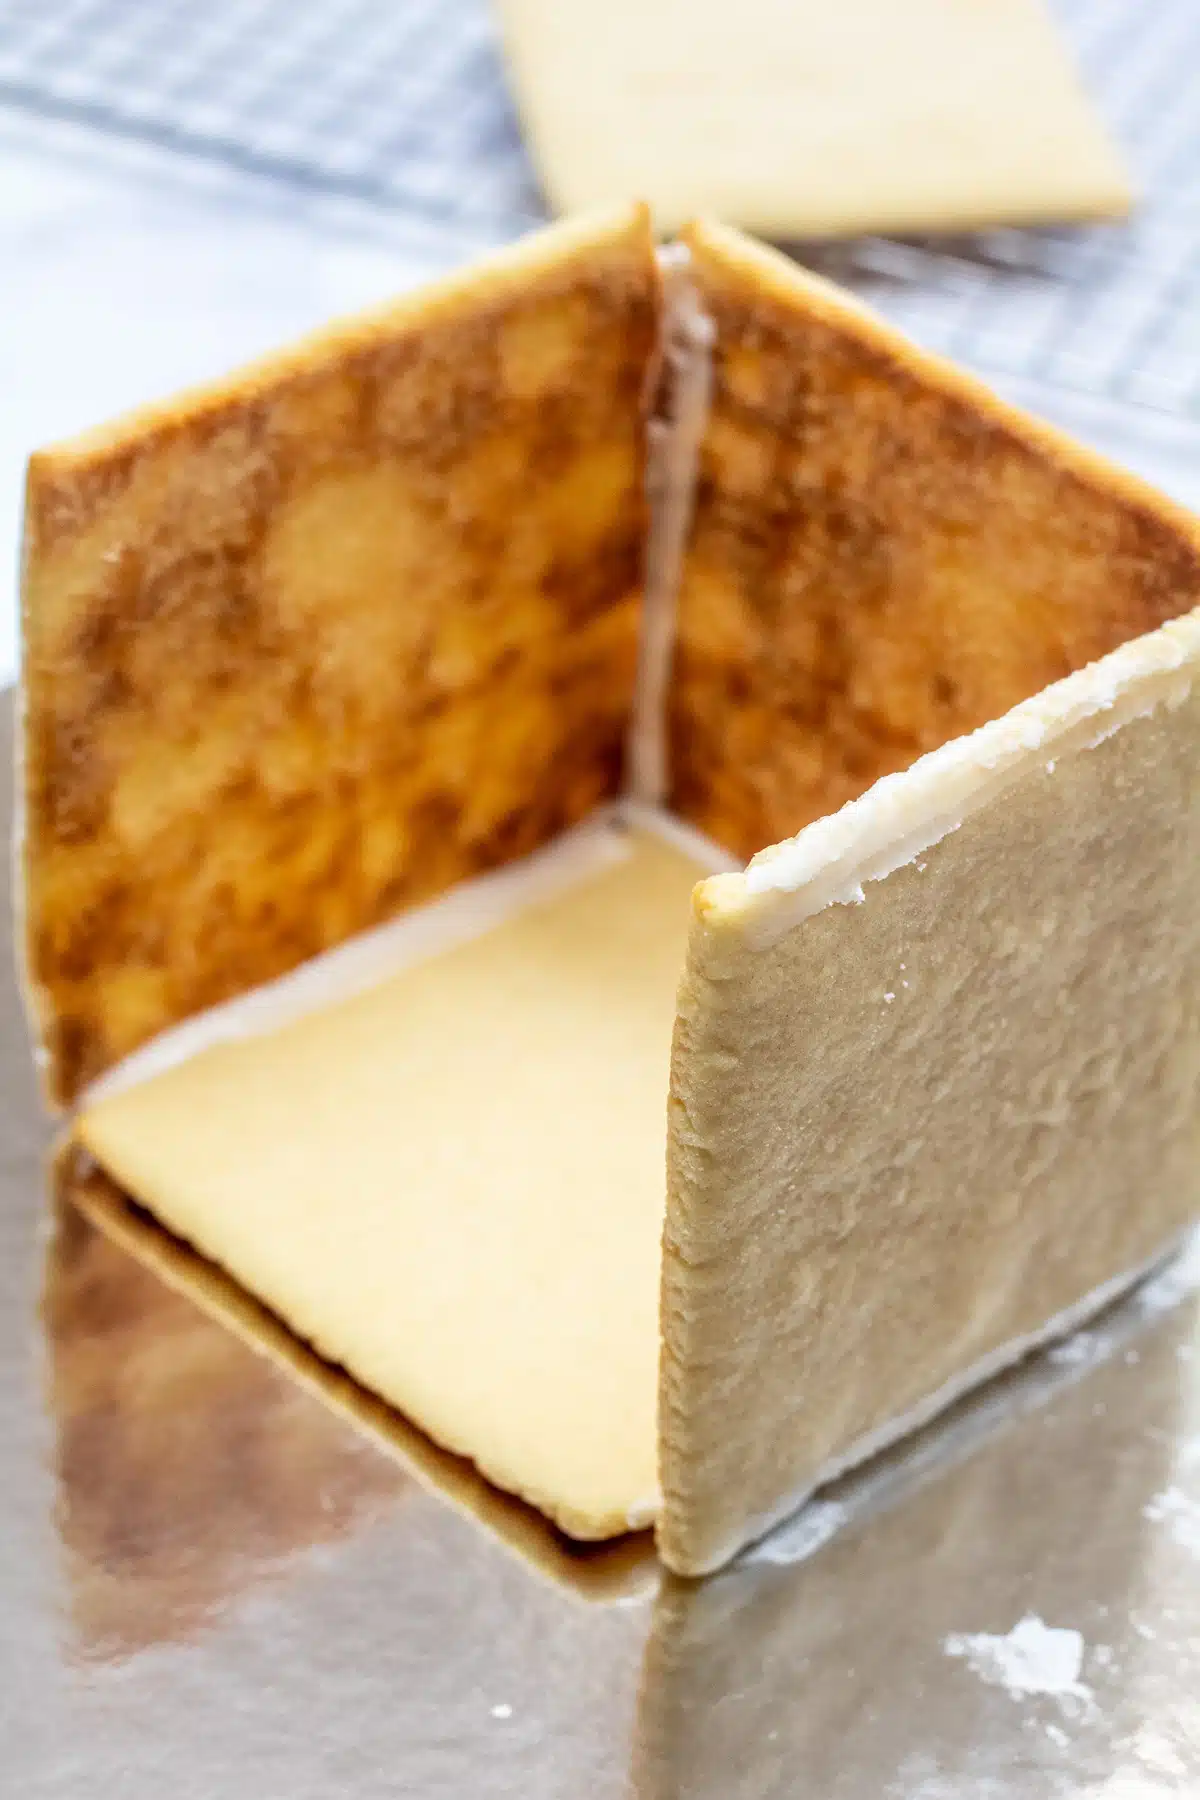
- Start with the base. When the cut-out sugar cookie squares are fully cooled, place the bottom onto a clean working surface.
- Make a piping bag. Transfer the gingerbread house glue/icing into a plastic piping bag or storage bag and snip the tip so that a small amount can be piped into the corners of your box.
- Start building the box. Pipe along the edges on the bottom side of the cookies where they will be touching another cookie. Hold in place for 15-30 seconds (an extra hand helps a lot). *It's easiest if you start in a corner and add the sides of your box.
- Add the feet and lid handle. Let the assembled box set, then flip and use a dot of icing to attach the footer pieces if used. Do the same with the handle for the lid.
Of course, you can decorate your gift box with simple icing or royal icing. These decorations can be as ornate as you like and customized for the holiday or for your loved one!
Wrap your edible Christmas cookie gift box in ribbons and bows. It's the easiest way to decorate your homemade gift and looks stunning!
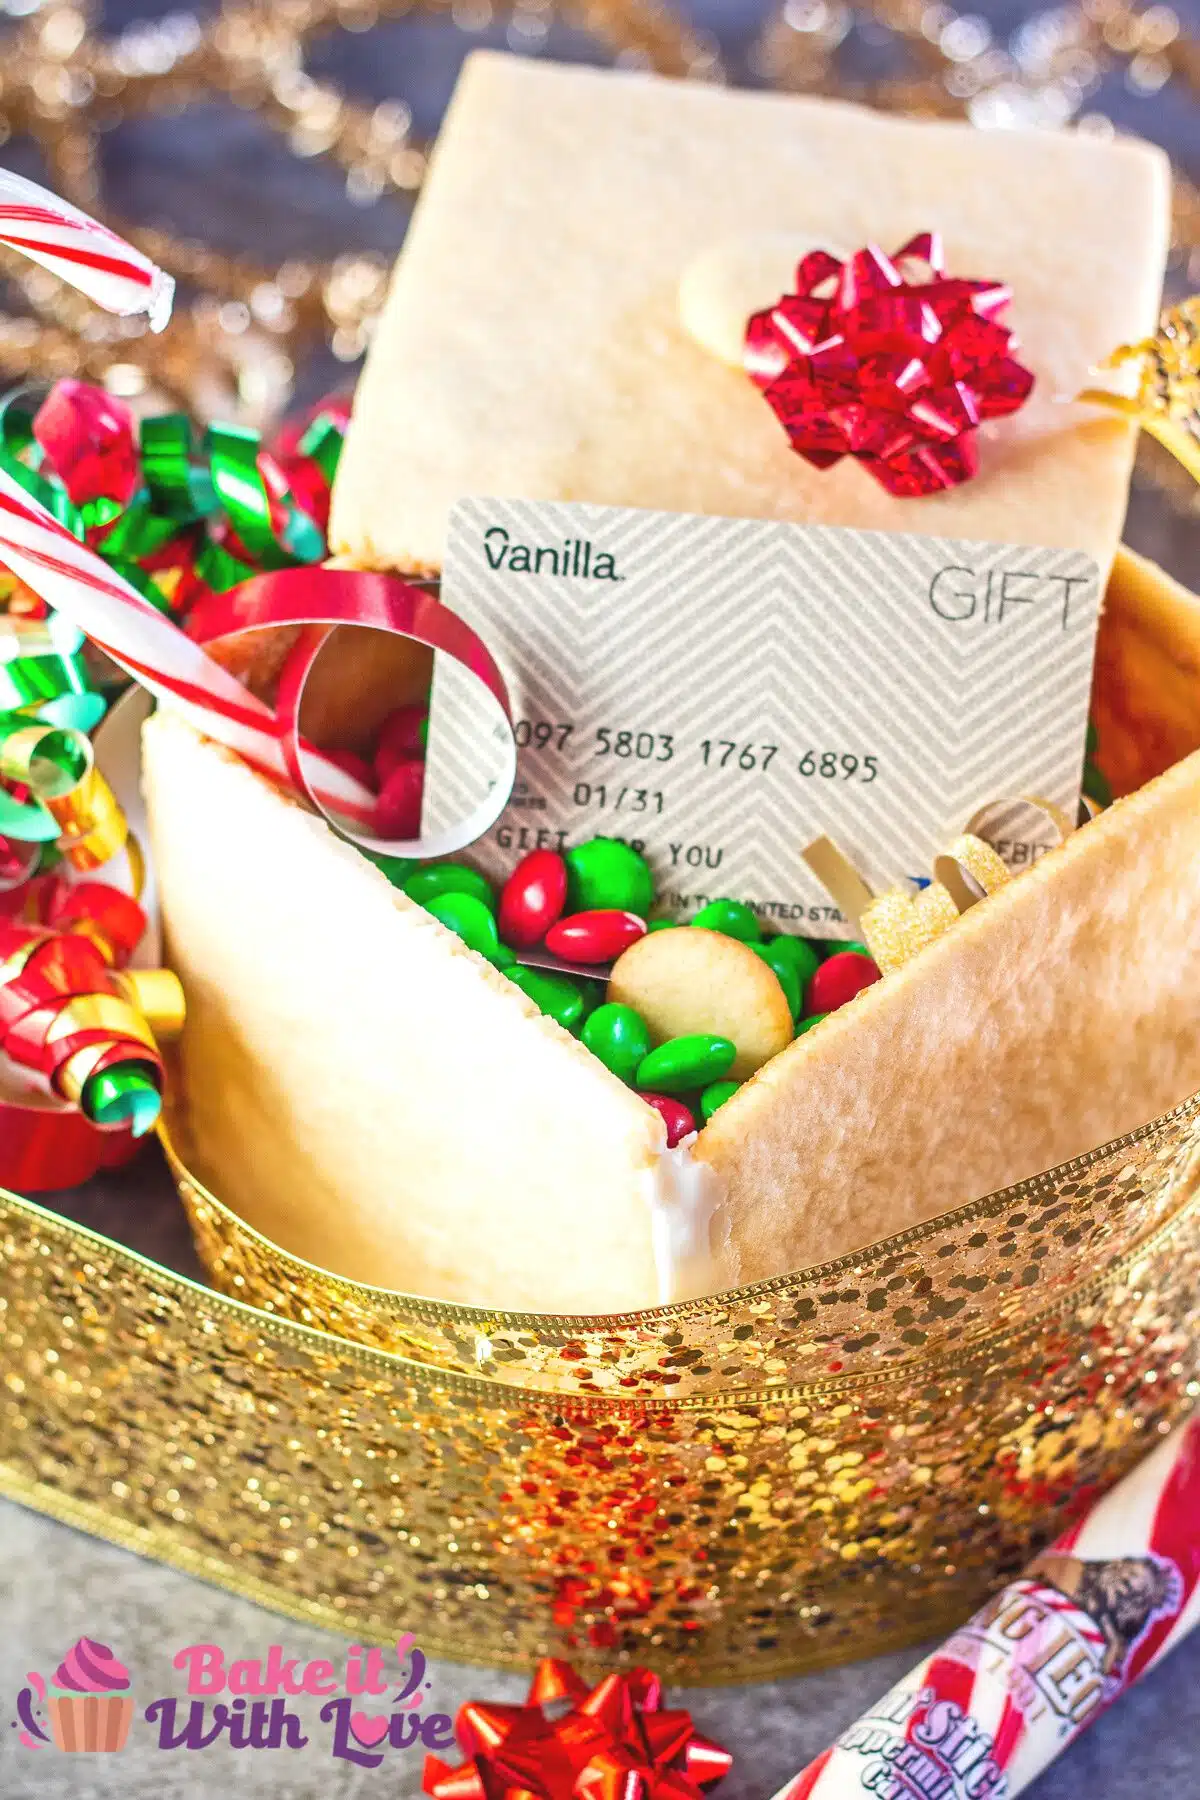
Keep it simple, as shown here, to make transport or packaging within a gift box as safe as possible. If you do opt to wrap your gift box within a box, I recommend some bubble wrap in the base, and tissue paper around the sides to keep the gift box in place.
Now have fun sharing your lovingly made gift. Enjoy your time with family and friends during the holidays, have a very Merry Christmas, and let there be peace on Earth!
Do you love a recipe you tried? Please leave a 5-star 🌟rating in the recipe card below and/or a review in the comments section further down the page.
Stay in touch with me through social media @ Pinterest, Facebook, Instagram, or Twitter! Subscribe to the newsletter today (no spam, I promise)! Don't forget to tag me when you try one of my recipes!
📖 Recipe Card
Edible Christmas Cookie Gift Box
Ingredients
Sugar Cookie Recipe
- ½ cup shortening (softened, at room temperature)
- ¼ cup butter (softened, at room temperature)
- 1 cup sugar
- 2 large eggs
- 1 teaspoon vanilla (or ½ teaspoon lemon extract)
- 1 teaspoon baking powder
- 1 teaspoon salt
- 2 ½ cups Gold Medal (all-purpose) flour
Gingerbread House Glue
- 1 ½ cups confectioners sugar
- 1 tablespoon meringue powder
- 1 ½ tablespoon water (cold, up to 2 tablespoons to reach your desired consistency)
(Note: 2x or 3x only changes the ingredient list)
Instructions
Sugar Cookie Recipe
- Cream together the shortening, butter, and sugar until light and fluffy. Add the baking powder, salt, vanilla extract, and eggs then mix until smooth and evenly distributed.
- Mix in the flour then cover your bowl of dough with a sheet of plastic cling film and chill for at least an hour.
- Preheat your oven to 400°F (205°C) and line your baking sheet(s) with parchment paper.
- Roll the sugar cookie dough to ¼-inch thickness on a lightly floured pastry mat. Cut out your desired shapes and use a spatula to lift and transfer them to your baking sheet(s).
- Bake for 6-8 minutes in the middle of your oven's center rack. Remove from the oven when the bottom begins to turn a golden brown color. Allow to cool on the baking sheet for 5 minutes before transferring to a wire cooling rack.
Gingerbread House Glue
- In a medium mixing bowl whisk together the confectioners' sugar and meringue powder. Add the cold water and stir until smooth. Adjust the consistency by drizzling a bit more water as needed. Stir until the icing is thick like toothpaste.
Assemble The Edible Christmas Cookie Gift Boxes
- Once the cut-out sugar cookie squares are fully cooled, place the bottom onto a clean working surface.
- Transfer the gingerbread house glue/icing into a plastic piping bag or storage bag and snip the tip so that a small amount can be piped into the corners of your box.
- Pipe along the edges on the bottom side of the cookies where they will be touching another cookie. Hold in place for 15-30 seconds (an extra hand helps alot). *It's easiest if you start in a corner and add the sides of your box.
- Let the assembled box set, then flip and use a dot of icing to attach the footer pieces if using. Do the same with the handle for the lid.


Comments
No Comments